
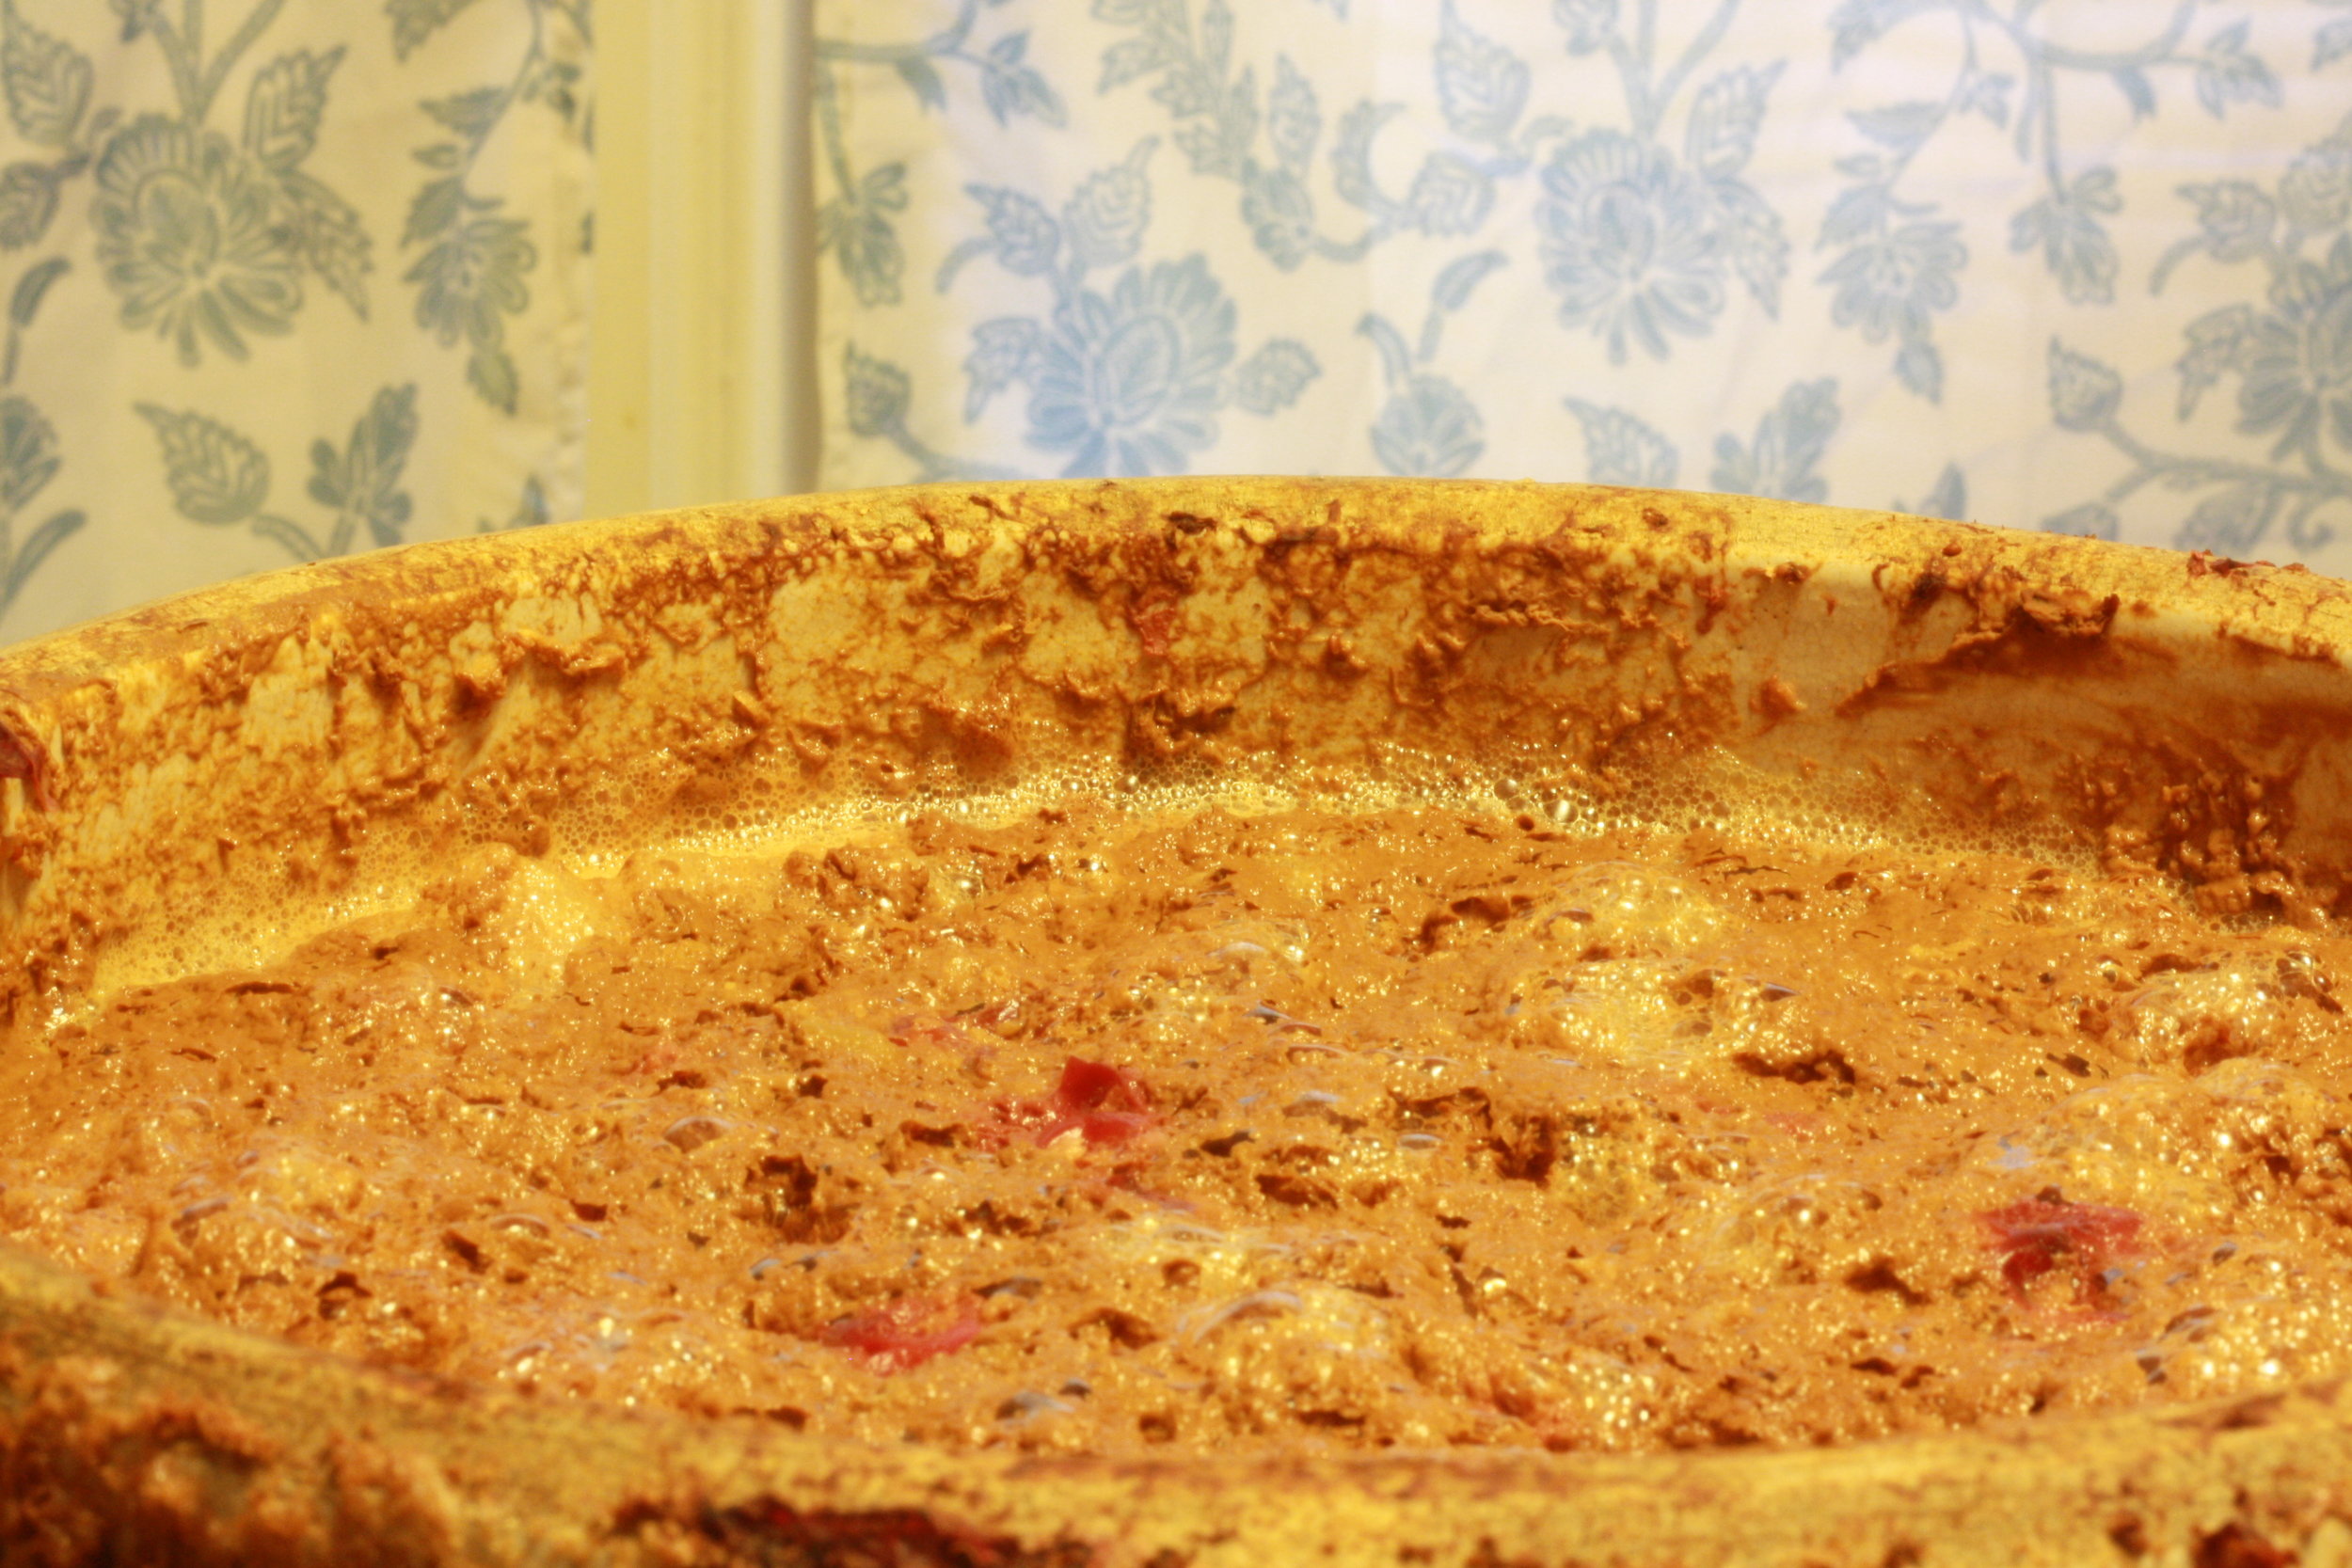
Wild Yeast is Your Friend
A troubleshooting guide to fermenting mead with wild yeast.
A troubleshooting guide to fermenting mead with wild yeast
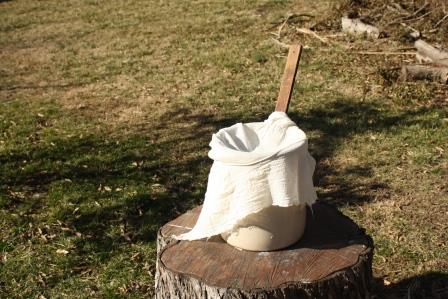
Often I will start a wild-fermented mead or wine outside near my garden and fruit trees, as this is where the wild yeast is most abundant.
Note: This has been updated with some minor clarifications as of July 9, 2020.
I’ve been writing and speaking about mead and fermentation for several years now, and now that my book Make Mead Like a Viking has been out for a year (it was published in November 2015), I’ve received a fair share of questions pertaining to the finer details of mead making and in particular, how to troubleshoot and be sure one is doing everything “right.” As a disclaimer, there is no black and white or wrong and right when it comes to mead making. There are too many factors to consider pertaining to things such as one’s reason for making mead, one’s personal taste, and how much time and effort one may want to commit to mead-making. In the following guide, I’ll attempt to cover as many bases as possible and am happy to answer questions (time permitting).
But first, a word about the title of this guide: Wild Yeast is Your Friend. While I am focusing on issues that may come up in making mead via traditional, natural, and organic practices, many of the topics will also pertain to mead making using commercial yeasts, sanitizers, and additives. I am not completely against the latter items per se, but simply want to make mead the way I live my life, in as holistic a manner as possible. In other words, this isn’t an “us versus them” discussion. For the most part I find mead makers to be a pretty friendly bunch. We (mostly) get along quite nicely. I do from time to time come across comments in online forums about wild yeast in which terms like “bad idea,” “dangerous,” “poison,” or even “the dark arts” are used. Yes, seriously. I also sometimes have people approach me at workshops or online worried about the potential dangers of using wild yeast.

Image courtesy of Pixabay.
Folks, people have been making alcoholic and non-alcoholic ferments from wild yeast since the beginning of time. Every commercial yeast strain started out as a captured wild yeast, and was eventually tamed in the laboratory which, to be fair, has provided us with some lovely, predictable yeast strains. Even today, wild yeast is captured and cultivated in labs for the production of mead, beer and spirits. Yes, things can go wrong, but that’s no reason not to learn how to coax in (capture is such an ugly word), save, and lovingly feed our own wild yeast. For my 2015 Mother Earth News Fair presentation on mead in Topeka, Kansas, I decided to title one of my PowerPoint slides “Wild Yeast is Your Friend” to launch my discussion on wild yeast. It must have struck a chord, since I had an attendee of the fair ask me to write just that in his copy of my book when I signed it. At that point, I knew that I would eventually have to write something with that title. So, without further ado, here are some tips on how to get along with your new friends.
A primer on starting and maintaining a wild fermentation
Wild fermentation really is a simple process. The key is to not overthink it. That being said, I’ve been doing it for a while and sometimes forget that people starting out may have concerns or experience problems that I don’t think to address. If you don’t have my book Make Mead Like a Viking, a good introduction to wild fermentation can be found in some of my articles on the subject, which you can find at my website portfolio, among other places. I’m certainly not the only one who has written on the subject, though. Sandor Katz, who I learned from, has written some books that are required reading for wild fermentation enthusiasts, Wild Fermentation (which was revised, expanded and reprinted in August 2016) and the greatly expanded follow-up The Art of Fermentation. You can find a summary of the simplicity of his process for making wild-fermented country wine at this link. Some key points if you’re having trouble getting a strong wild ferment going are:
Stir several times a day. As noted in the above (milkwood.net) link, “Every time you stir you are doing multiple things; drowning any moulds [molds for us American English speakers] that might be thinking about starting to grow on the fruit at the surface, adding air to the brew, and agitating the overall ferment. In a good way.” When stirring, stir for a couple of minutes at a time. Get a vigorous whirlpool going and then reverse direction. Keep in mind that this will likely produce bubbles. This does not mean you have achieved fermentation. When you stop stirring and hear fizzing, usually accompanied by a bit (sometimes a lot) of foam, you’re there!
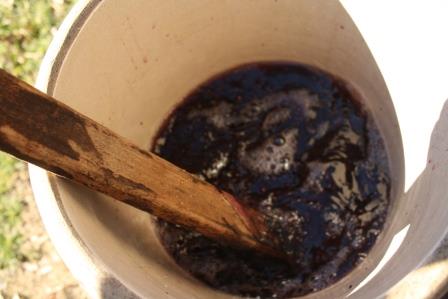
Stirring a recently started elderberry mead (or melomel, i.e., fruit mead).
Add ingredients that contain wild yeast. For mead, you should use raw, unfiltered honey, which houses wild yeast colonies of its own. However, it needs additional yeast and nutrients to ensure a strong ferment. If you’re not making a fruit mead from wild or organic (i.e., unsprayed) fruit, always add a few organic raisins or other dried or fresh fruits. I add 10-12 raisins for a 1-gallon batch and 20-25 (or just a small handful) to a 5-gallon batch. You can add all manner of organic fruit, edible flower petals and garden-grown or wild-foraged botanicals in small amounts to achieve the same affect. There are certainly some detractors to the dried fruit as nutrients concept, but I know plenty of mead makers who do it. It works, so why not? As an example, my friend Amber Shehan has written a book based on her popular blog Pixie’s Pocket. In the section on yeast nutrient, she says “Yeast consumes sugar to produce delicious alcohol, but sometimes sugar isn’t enough to get the job done. Our fungi friends need more food, in the form of yeast nutrient. You can buy bottles of yeast nutrient from a homebrew shop, but I prefer to use raisins and other fruit to provide the needed boost to my booze. Most of the recipes in her book use raisins, but I omit them when there is enough fruit to make their inclusion redundant (pg. 17).“ She’s been doing this for many years, I’ve had some of her tasty mead, and she’s a wee pixie, so listen to her!
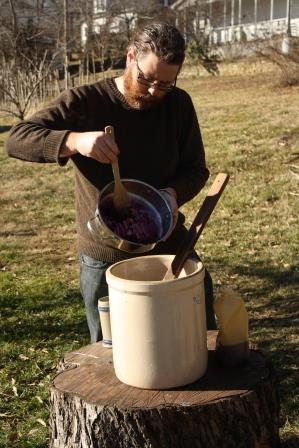
In addition to de-stemmed elderberries, I added a small handful of organic raisins to this mead for wild yeast, nutrients and tannin.
Some additional tips I would add are:
If you already have a fairly fresh batch (one that’s been going a few weeks to a month) of fermenting mead, wine, cider, etc., add about half a cup to the new batch. It’s fine to do this if you’ve used a commercial yeast as well. The active ferment will ensure you get a solid ferment going for the new batch. This was traditionally called barm or backslop (nearly every culture has a term for it).
Start your new mead in a jar that is smaller than what your final batch will be. Anything from a pint (or less) to a quart (or more) will get a larger batch going. Once you’ve introduced those active yeast and continue stirring in an open vessel, the fun will to start in no time.
Keep it warm and make it feel loved. A new batch of wild-fermented mead is like a new baby, puppy, kitten, or dinosaur. It needs your care, which means lots of warmth (60-70 degrees Fahrenheit), a dark corner to make it feel safe (keep it away from sunlight), and regular attention (stirring, singing, cuddling; don’t worry: no one is looking). If the only place you have to keep it isn’t quite warm or dark enough, simply wrap it in a blanket or towel. Oh, and never, ever feed it after midnight (if you don’t get the reference, I’m too old).
Develop a rhythm. You don’t have to make mead all the time but if you do mostly one-gallon batches and make a new batch every month or so you’ll quickly develop a feel for the process and before you know it, attending to your meads, wines, and other ferments will be a part of your daily routine.
Consider the time of year. While I’ve made perfectly good wild ferments in the fall and winter, I’ve found that my spring and summer meads get going much quicker. Even if you keep it by a heater vent or near a stove or have a consistently warm house, it’s almost as if a wild ferment can sense the outside weather. Part of this may be that there are less wild yeast floating through the air since the rest of the wild world is resting. Don’t let this stop you from making mead all year round but give your mead a little extra time and care if making it in the cold months.
Never boil or pasteurize honey or any fruit you plan on adding. Warming on low heat will help bring the must (unfermented mead / wine) to the ideal temperature for fermentation, but heating too much will kill off wild yeast and cause some of the aroma compounds to dissipate, making for a blander outcome. Take note that some recipes require you to cook the must to achieve the proper flavor. An example is bochet (made with “burnt” or caramelized honey). For these, use barm / backslop or a commercial yeast, or caramelize some of the honey and proceed as normal with the rest.
If it turns out more tart, sour or funky than you expected, just understand that this is part of the territory. When drinking, blend it with some fresh honey and water, some other mead or wine, or make it into a cocktail such as a whiskey sour. In my case, my wife and some of my friends enjoy these flavors more than I do, so I just give it to them (or save it to share at a workshop).
Troubleshooting and avoiding problems
Things can go wrong in making mead, but that doesn’t mean they will. Don’t go out of your way to try to anticipate every problem. This is how modern homebrewing’s obsession with extreme sanitation and near-laboratory conditions came about. Approach the process with confidence and a reverence for the journey you are beginning, take notes, learn from your “mistakes” and those of others, and avoid setting stringent expectations. That being said, I won’t claim every mead I’ve made has been perfect, but I do often find that ones I don’t care much for, others enjoy. Following are some of the issues you may encounter. Note that this guide is designed for people who have already started making mead and are at least somewhat familiar with the processes and equipment. Hence, I don’t always go into detail in describing things those readers will already know.
Mold or funky film on the surface
Don’t get freaked out by mold. It’s not always a bad thing and doesn’t necessarily mean your mead is ruined. The only times you’ll want to be concerned are if there are moldy or gelatinous substances floating beneath the surface, or if the mold is black and slimy. In these cases you really should just count your losses and toss the batch. That being said, I’ve never had either of these happen. The best way to avoid any kind of mold is to clean anything touching the mead thoroughly and to stir regularly during the open-fermentation phase. I clean with hot, soapy (not much soap and I try to use a natural, no-scent soap) water and sometimes with OneStep, a natural cleaner that cleans through oxidation. You can use sanitizers as an extra step, but even this isn’t a sure-fire solution. Timing and proper care for an open ferment are key. Don’t leave mead in an open fermenter more than two weeks after fermentation commences unless you’re intending on drinking it young and don’t mind a sweet mead with a potentially sour edge. Be sure to continue stirring daily, even after you’ve achieved fermentation. If mold does appear on the surface, you can safely scrape it off with a clean spoon, discard, and continue as usual. If racking to a carboy for long-term aging, be sure the airlock fits snugly and that you have an airtight seal. Note that you may sometimes see a white, cloudy film on the surface, even after racking to a closed container with an airlock. This isn’t mold, but rather a yeast bloom. It’s perfectly safe and can be stirred back into the mead. As I note in Make Mead Like a Viking (pg. 80):
Sometimes you may even see a thin white film, or pellicle, form on the surface. This is a good sign, and should be left alone. You have just introduced Brettanomcyes, referred to by beer brewers as “the Brett” and by vintners as “Flor” (flower). This strain of yeast likes to party on the surface, linking hands and forming a barrier to prevent oxygen from entering the must. An oxidative yeast that prevents acetobacter from turning your mead into vinegar, Brett is commonly found on the skins of fruit and (theoretically) spread by fruit flies. It’s safe to stir it in, but wait until you’re ready to rack or drink the mead. (I should note that I received a not-very-tactful comment online once about this being erroneous. I did my research, which I note in the book. You should too. I recommend my primary source, Wild Brews: Beer Beyond the Influence of Brewers Yeast, by Jeff Sparrow.)
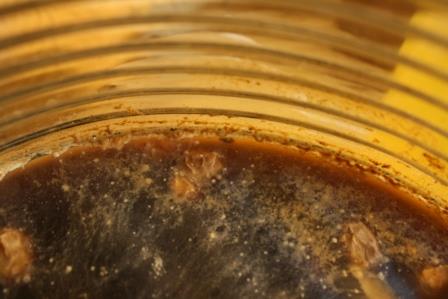
Yeast bloom forming on the surface of a bragot (honey beer).
Avoiding (or intentionally creating) vinegar and troubleshooting tart, bland, astringent, or just plain funky flavors or odors
There is a common misconception that if a mead tastes too acidic it’s turned to vinegar and can’t be saved. First off, mead vinegars are lovely to cook with and are well worth making intentionally, so it’s not that much of a loss. Second, provided you have avoided allowing it to have contact with open air for more than a couple of weeks, what you’re likely tasting is tartness due to high acid levels. This likely occurred because of a high-acid honey, an improper acid balance caused by ingredients, an environmental factor, or just wild yeast doing its thing. This is why I generally wait to add acid to my mead after fermentation has been going strong for at least a couple of weeks. The natural way of fixing an acid imbalance is to blend in more honey for sweetness to balance out the tart, preferably a low-acid honey. If you don’t want to use up more honey, make a simple syrup, preferably from organic cane sugar and warmed spring water. Mix and taste until you’re satisfied. If you want to get more technical, pick up a pH meter (not acid strips; you’ll be wasting your money) and some calcium carbonate. As Ken Schramm notes in The Compleat Meadmaker (pg. 65), “The method of pH adjustment I prefer is to add calcium carbonate, CaCO₃, ½ teaspoon at a time, stir, test, and repeat as necessary to bring the pH up to about 3.8.”
If there is too much astringency (mouth-puckering / dry) in the mouthfeel, you have an excess of tannin. This can also be fixed by mixing in a simple syrup, and/or adding in additional low-tannin flavoring ingredients. Worse comes to worst, blend the final product with another mead or wine. If the mead tastes a bit bland, you’re in luck. Simply add a few drops of acid in some simple syrup and very small amounts of tannin, stir it gently into the must, check every couple of days and bottle when the balance is right. Don’t expect it to taste incredible right off the bat, as it will improve with age. This is one of those aspects of mead making that is as much art (and personal preference) as it is science. Even those who are very clinical about their mead making can only do so much when it comes to testing tannin levels. Don’t overthink it. Generally, a little bit of tannin goes a long way. If you’ve added any amount of fruit, raisins, or other botanicals, you likely have enough tannin. If you added too much, backsweeten (add more honey or honey/water until you like the taste).
Sometimes while a mead is still young, you will notice what can be best described as “funky” flavors or smells (a sulfurous odor for example). In my experience, I generally just use the tried and true time and patience method for averting this problem. I can’t honestly say I’ve noticed any particularly strong odors while my mead is fermenting but my wife tells me I have a poor sense of smell. Or maybe it’s just that I’ve become accustomed to all the lovely smells that go along with fermentation and she hasn’t… Now that I’ve just dug myself into a hole I may as well keep digging. The best advice I can give is that mead is a slow fermenter by nature and can produce all kinds of funky flavors and smells as it progresses. One tip many mead makers suggest to speed up the process and avoid off flavors is to add nutrients. I personally add these in the form of raisins or other botanicals but you can purchase these in powdered form from a homebrewing store, which is perfectly acceptable. I have used both with success so go with what you prefer. If you want to get really technical and hands-on, try the staggered-nutrient addition (SNA) method many more technical mead makers swear by. I’ve personally only tried the lazy version of this method (“add when I feel like it”) but have mostly just gone back to adding nutrients during initial fermentation. It works fine for me and I can use my time to focus on other things, like lazily drinking mead or beer, so I’m good with that.
Although written more for beer, these sites list some common off-flavors and how to avoid them. Much of the information is just as applicable to mead as it is to beer:
http://howtobrew.com/book/section-4/is-my-beer-ruined/common-off-flavors
https://www.morebeer.com/content/homebrew-off-flavors
Clarifying mead
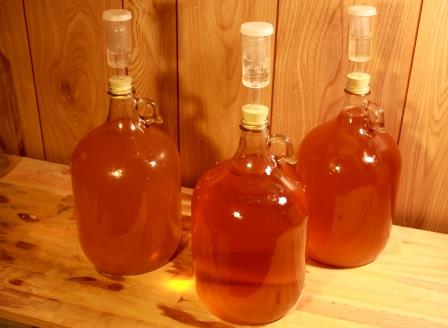
Two meads and a wine in various stages of fermentation. After a few months, most meads will become quite clear, and can be clarified further with regular rackings.
I’ll admit that this isn’t an aspect of mead making that I find really belongs in a discussion on “trouble,” but a lot of people prefer their meads to be clear, so I’ll provide a few tips. While I enjoy a nice, clear mead, I don’t find a bit of cloudiness to be off-putting. Most of my meads turn out fairly clear. If they don’t, I don’t stress it. A cloudy mead, or “haze,” is a result of yeast, protein, or polyphenols that are suspended in the mead upon the completion of fermentation. Sometimes this can result in an excess of tannin, in which case I will proceed with clarification. Some natural solutions to this are to backsweeten just a bit, or to cold crash. Cold crashing can be tricky if you’re making a five-gallon batch and don’t have a large, mostly empty refrigerator. It’s less of a problem for one-gallon batches or have access to a cold back porch or garage in the winter. Simply set the carboy or jug where it can stay at a fairly steady temperature of just above freezing (a bit colder is fine, but avoid single digits or temperatures above 40 degrees Fahrenheit) for a few days to a week. This essentially slows down fermentation and knocks out any yeast that are still trying to hold on. It doesn’t kill yeast, but I have heard of people using this technique to stop fermentation early (which I will discuss later). Give it some time in a warm room before determining if it’s ready to bottle.
If you want to get technical and use natural and not-so-natural additives, there are some options. Egg whites contain gelatin and albumen and have been used as a clarifying agent for centuries. They can also be used to draw out excess tannin. Rather than going into detail here, this link does a fine job of demonstrating how to clarify white wine with egg whites. This technique will work just as well for mead. Other options are isinglass (from a fish’s air bladder-yum) and Sparkolloid®. These are all positively charged fining agents. According to Ken Schramm in The Compleat Meadmaker (pg. 48), particularly stubborn hazes can be taken care of by following up with a negatively charged agent such as bentonite or kieselsol (silicon dioxide). Essentially, what is happening here is that positive electrostatic agents bond with the negatively charged molecules that are causing hazing. When following a positive with a negative, you’re catching anything the positive charge didn’t catch. Now, I’m not a scientist and I personally prefer to brew using the olde ways, so don’t take my word for this. I’ve researched this from several sources but I recommend researching further if you really want to give it a try.
Knowing when fermentation is complete and when it’s time to bottle
This is a tricky one as there are so many factors involved but it’s a question I get a lot. What I’ll do here is provide a rundown of some general tips and follow with tips for special circumstances or specific types of mead. Keep in mind that a one-gallon batch will almost always ferment faster than a five-gallon batch, but there are a few techniques for speeding up both.
The core areas for ensuring a complete fermentation without additional effort or additives:
1. Time (3-6 months for one-gallon; 12-15 months for a five-gallon)
2. Continuous racking (every 1-3 months)
3. Patience (see above two)
To put it simply, mead has a lot of sugars. These sugars need to fully ferment, releasing carbon dioxide while doing so, before they can be bottled. Of course, there are exceptions if you want a carbonated mead. The more honey you use, the longer it should age in the carboy and subsequently in the bottle. This is not only for ensuring a complete fermentation but also for allowing the flavor and mouthfeel of the mead to smooth out. Time isn’t always a deciding factor in knowing when fermentation is complete. There are various methods for checking whether or not fermentation is still happening, but my favorite is the tried and true pinch of sugar. Just take a pinch or half teaspoon of sugar and sprinkle it in the mead, either in the carboy or by drawing some out with a wine thief or turkey baster. If it drops to the bottom quietly, fermentation should be complete (or at least close). If there is any reaction at all, fermentation is still going on. A reaction can range from carbonation bubbles rising as the sugar drops to vigorous (and messy) foaming. I still recommend giving it at least a month if the mead seems still at this point, as I have occasionally found carbonation in my meads after doing this test and bottling right away.
If it’s not quite there and you want to speed things up, rack into another carboy or into a plastic fermentation bucket in anticipation for bottling. Rack gently so as to not get any remaining yeast too excited and allow it to settle. From here, you can proceed with degassing. This is simply taking a long spoon or other stirring implement and stirring gently without disturbing the surface too much. Use a drill on slow speed with a clean stirring attachment if you want to do this in a carboy. You will likely see a bit of fizzing at the top as you do this. Do it every couple of days until things are nice and still. Do another sugar test to be safe and proceed with bottling (after any acid or tannin adjustments) when everything is nice and calm. If you want to carbonate your mead, you can wing it and bottle before fermentation is complete, but a better way to get the amount of carbonation you want while avoiding bottle bombs or mead geysers is to wait until fermentation is complete and then stir in some honey or sugar. A more reliable and scientific method is to use a hydrometer. I’ve taken to doing this more lately because I’ve tested meads that by all accounts seemed still and found they were carbonated after opening a bottle. A hydrometer is something you’ll need to purchase at a homebrew store if you don’t have one. You may have noticed in my writings that I don’t reference them as often as other brewers do. This is because I want to teach people how to brew using intuition, experimentation and primitive methods as their ancestors would have done. However, I do have a few in my possession and do use them from time to time. One of their intended uses is to test the original gravity (liquids with sugar mixed in are “heavier” until they’ve converted the sugar to alcohol) before fermentation and then making measurements later in the process to calculate the final gravity. They can also be used to test gravity every couple of days (or weeks) when you feel fermentation is about complete. If it remains at the same reading for a week or two then you should be good to go.
Other methods for stopping fermentation include cold crashing (referenced in the clarification section) or adding chemicals such as potassium sorbate or potassium metabisulfite. I have never done this so I can’t speak as an expert on it. However, these sites have plenty of great info if you want to give it a try:
https://monkeyboymead.com/meadmaking/ending-fermentation-aging/
http://www.eckraus.com/wine-making-stop-fermentation.
In the end, your best gauges for a full fermentation are time and patience. It can be tough for folks like me who started out brewing beer and are accustomed to having a bottled and drinkable product within about a month of brewing, but the wait will be worth it. For most of my one-gallon meads I’ve found that six months is generally a good time to bottle, although a few more months doesn’t hurt. I usually bottle at around four-to-six months. Remember, the more time you give the entire product to age in a single vessel, the better the final product will be. For five-gallon batches this can mean a year or more of waiting before you even bottle and several months from there. The amount of honey (or any other sugars) you use will be a factor. I did a five-gallon semi-sweet once that ended up using about 15 pounds of honey (okay, it bordered more on sweet). I gave it nearly fifteen months and three or four rackings, racked it to a bottling bucket and degassed several times and eventually bottled it. It was an amazing mead but I still had popped corks and carbonation. Sometimes fermentation is just a fickle process. You more technical people may get things done quicker. I know it’s possible, but I usually use my waiting time to make some beer.
I’ve referenced backsweetening a few times but feel I should add another word about it here. The best way to ensure a mead has the level of sweetness you desire is to add the proper amount of honey for the recipe (whether it be dry, sweet, semi-sweet, etc.). However, when making mead naturally, it can sometimes ferment past the level of sweetness you want. The best way to resolve this is to keep adding honey (sugar is fine too; I use cane sugar) until it reaches the level of sweetness you want and it has finished fermenting. This requires more time and patience and you may never quite get it where you want it. You could always add sulfites and then backsweeten but I generally just work to get it as close as I can and then backsweeten with simple syrup or a sweeter mead before drinking. This is the way it has been done for millennia, so unless you plan on going commercial or like to get super technical with your brewing, there’s no reason you shouldn’t do it.
Airlocks, totem sticks and going “ancient” with your equipment

Illustration by Michael Startzman.
My goal from the offset in making mead was to make it like the ancients or, like a Viking if you will. I wanted to go further than the many recipes I’d read that talked about how the Vikings liked mead but then proceeded to talk about ultra-modern equipment, techniques and chemicals. I’ll admit, I still haven’t gone as far as I’d like. I still have my share of “modern” equipment (carboys, hydrometers, plastic airlocks, plastic brewing buckets) but I work to use those less and less. Really, it would probably be more accurate to describe my goal as to brew as self-sufficiently as possible. Still, I continue to read old texts on brewing and infer what I can on the types of equipment used when the brewing process is only referenced briefly. I’ve talked to a lot of brewers with the same mindset who have come up with some ingenious ways of brewing with little-to-no homebrew-specific equipment. My advice to you is to just use what you have, continue looking for ways to innovate, and don’t stress it. I have a plethora of plastic airlocks due to the many years I’ve been brewing and from the classes I teach for which I have them on hand to sell as part of a brewing kit, so I will continue to use them. If you don’t want to use an airlock, use a balloon, a condom, or anything else along those lines. Someone once told me that he buys unused plastic gas cans from a discount store for brewing and uses an inflatable rubber ball for the airlock by attaching the opening of the deflated ball around the lid of the gas can with rubber bands. Not very “ancient” but certainly ingenious.
If you’ve read my book Make Mead Like a Viking or any of my articles on ancient mead making you may have noticed that I reference “totem sticks” or “magic sticks.” Essentially, I learned of these from Sandor Katz’s books Wild Fermentation and The Art of Fermentation and Stephen Harrod Buhner’s book Sacred and Herbal Healing Beers (which Katz also references). Katz and Buhner both reference ancient and indigenous cultures who passed along heirloom yeast strains by using the same stirring stick or fermentation vessel without sterilizing it (rinsing it with warm water is fine). This is also a practice likely utilized by the Vikings, which I learned of from the beer writer Michael Jackson in this article. I have used a wooden stir stick for stirring mead in open fermentation vessels often, which I wash only by running warm-to-hot water over it but I can’t say that I’ve experimented with actually saving yeast strains through this method in any methodical or scientific manner. I have had folks contact me after reading the book intrigued by this and wanting to know what historical sources I learned it from. All I can say is that I started the same as you: I came across a reference in a book, was intrigued by it and gave it a try. I will continue my research into this and hope to cover it in more detail in future writings but for now feel free to not consider me an authoritative source on the subject…
Some final thoughts on cleaning, sanitation and those crazy wild yeast
So, I started this whole thing out by stating that wild yeast is your friend. I have learned since writing Make Mead Like a Viking that there are plenty of people interested in the concept of wild yeast and avoiding chemical sanitizers and additives but there are still people out there who are leery or just plain scornful of wild brewing. I still get people warning me that using wild yeast can potentially be “disastrous.” All I can say is that, if you have reasons for pursuing wild brewing, this is your personal choice and there is no reason why you shouldn’t continue to pursue it and discuss with others what you’ve learned. Some prefer a highly regimented, scientific approach to brewing and that’s their prerogative. I make most of my meads with wild yeast and have completely stopped using sanitizer in my mead making and beer brewing. I also am not exacting in my recipes and rarely repeat the same recipe with the exact same ingredients and measurements. Sure, not everything turns out like a nice, consistent and reliable modern brew but I’m in this for self-sufficiency, affordability and experimentation. Besides, only me and the people I share it with are drinking it so those who have a problem with it need not worry that it will affect them, although I do encourage them to shift their worldview just a bit. You never know where it could lead you.

Illustration by Max Alnutt for the Viking Nerds Skal Deck expansion to the tabletop game Don’t Fall in the Mead Hall.
A Very Meadly Travelogue
A travelogue of my 2016 Make Mead Like a Viking book tour.
It's been a while since I've posted a blog or sent a newsletter to my mailing list. I have an excuse though...I've been busy!
Yeah I know, lousy excuse. For someone accustomed to do doing things when I durn well please, I still have to meet deadlines, show up to events on time, etc., etc. Thus, things like newsletters and blog posts tend to get pushed back to "I'll definitely get to it in the next day or two." Or, as it seems these days, in the next month or two.
All apologies aside, it's been a wild ride over the past several months. Make Mead Like a Viking continues to have solid sales, at least according to Amazon, and the positive reviews (as well as a few critical ones) continue to pour in, both on Amazon and through my various social media presences (see links at the bottom of each page of my website). If you've read it and have something to say, please do share your thoughts on Amazon, Goodreads, etc.
Although I will focus primarily on my trip to the Pacific Northwest in this blog entry, I would like to give a shout-out to Asheville, North Carolina, the homebrew and craft beer mecca of the Southeast. In April, I traveled there with my family from our home in Kentucky for the Mother Earth News Fair (MENF). I've presented at a few of these fairs now but my first was in Asheville. I made sure to give myself a few days extra to check out some of the many local (and I do mean local) food and craft brew venues. There are far too many to list here, as I always try something new whenever I visit, but the Wild Yeti in me particularly enjoyed Wicked Weed Brewery (or more specifically its Funkatorium). For an earlier rundown of my travels to Asheville see my 2012 Earthineer article.

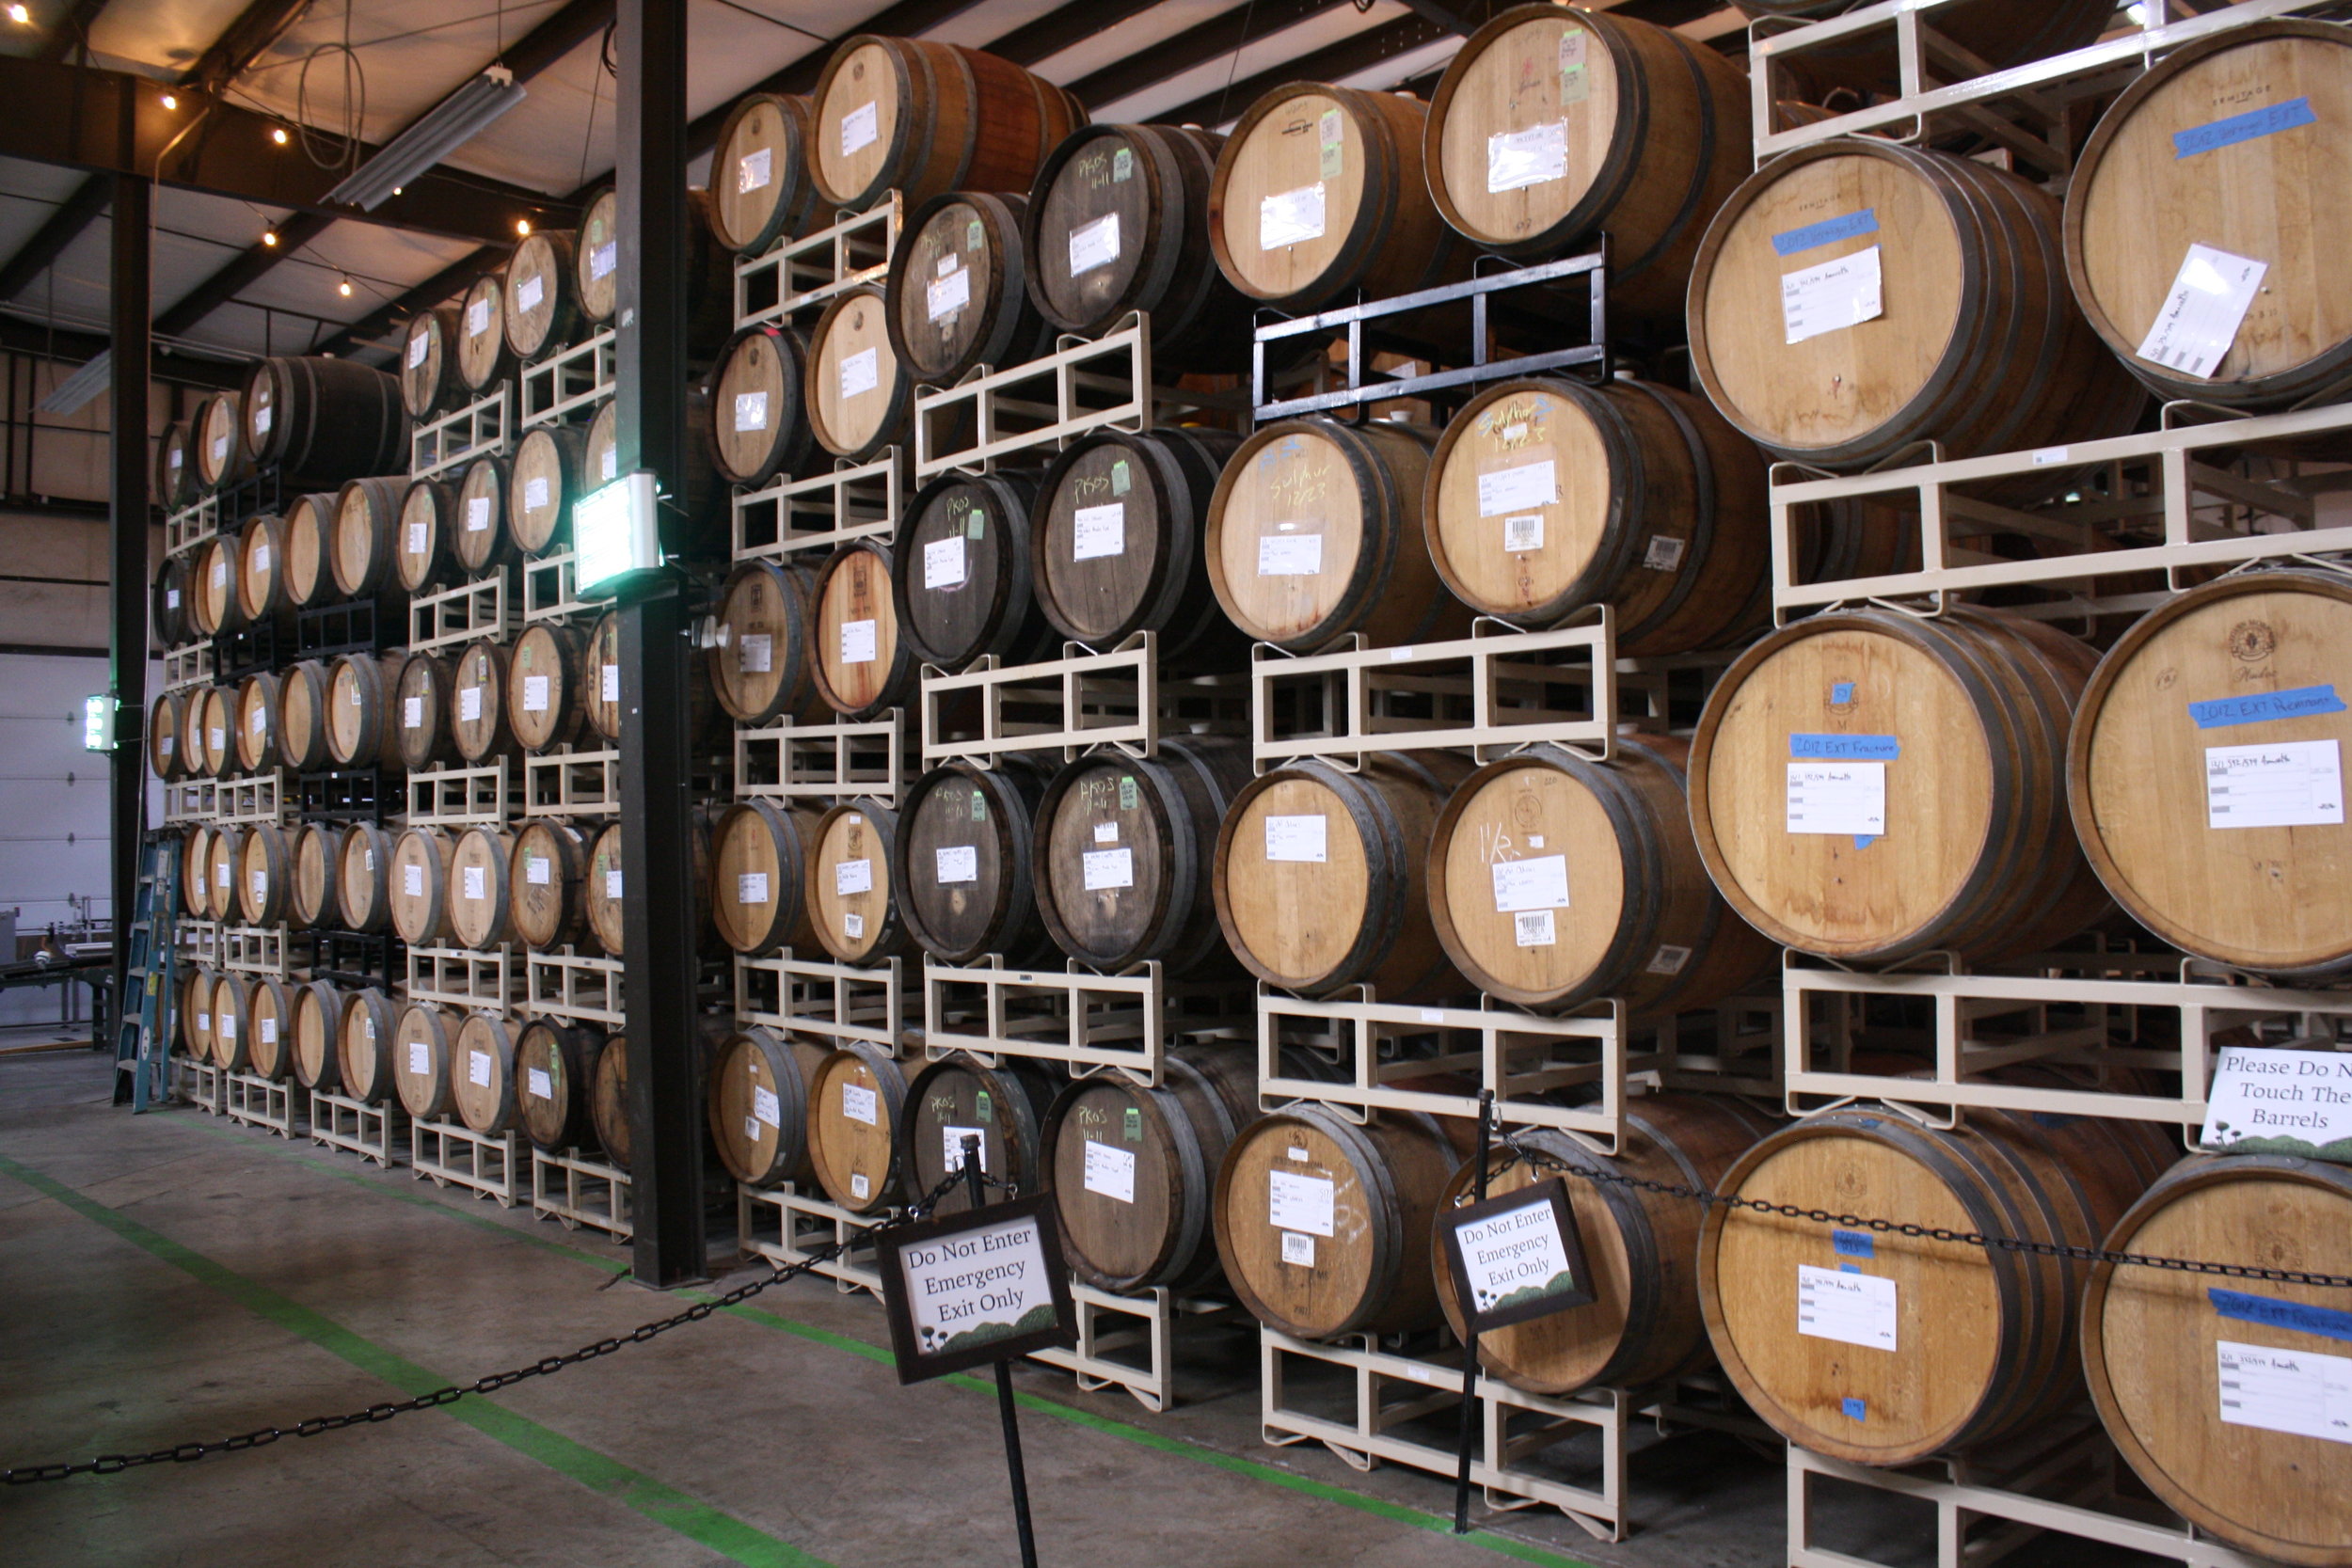
Funky beers aging in barrels at the Funkatorium.
I was hoping to find more time to visit some meaderies but sadly, meaderies are still far and few between in the southeast. Some are so small that they don't even allow visitors. One that did, Fox Hill Meadery, was in the mountains surrounding Asheville. The drive was beautiful, but as the owner warned us, GPS systems exit reality when they get close to his meadery. With only a few turnarounds we managed to find the aptly named meadery. Climbing up the steep driveway, we turned into what appeared to be someone's home. Turns out it was, although the mazer Jason Russ had recently had a building constructed specifically for his mead. Jason warmly welcomed us into his tasting room, where myself, my wife Jenna and my brother Zach (AKA the chainsaw juggler) sampled each of Fox Hill's seven mead varieties. Although we all enjoyed something about each mead, I will say that the range of flavor and styles available paled in comparison to what I discovered in the Pacific Northwest. This is not meant as a criticism of Jason and his meadery. This region of the country is simply not quite at the level that the west and east coasts are in regards to how seriously mead is taken as a contender to the craft beer movement. To be fair, it sounds like Fox Hill is well on its way to bringing greater variety in mead to North Carolina. Jason showed me some kegs which contained some session meads he was experimenting with. Essentially, a session mead is a mead with an alcohol level akin to beer and that is carbonated in a similar manner to beer. It uses less honey than the more wine-type meads and has a much shorter aging time. I'm working on my own session mead recipes currently, so stay tuned.
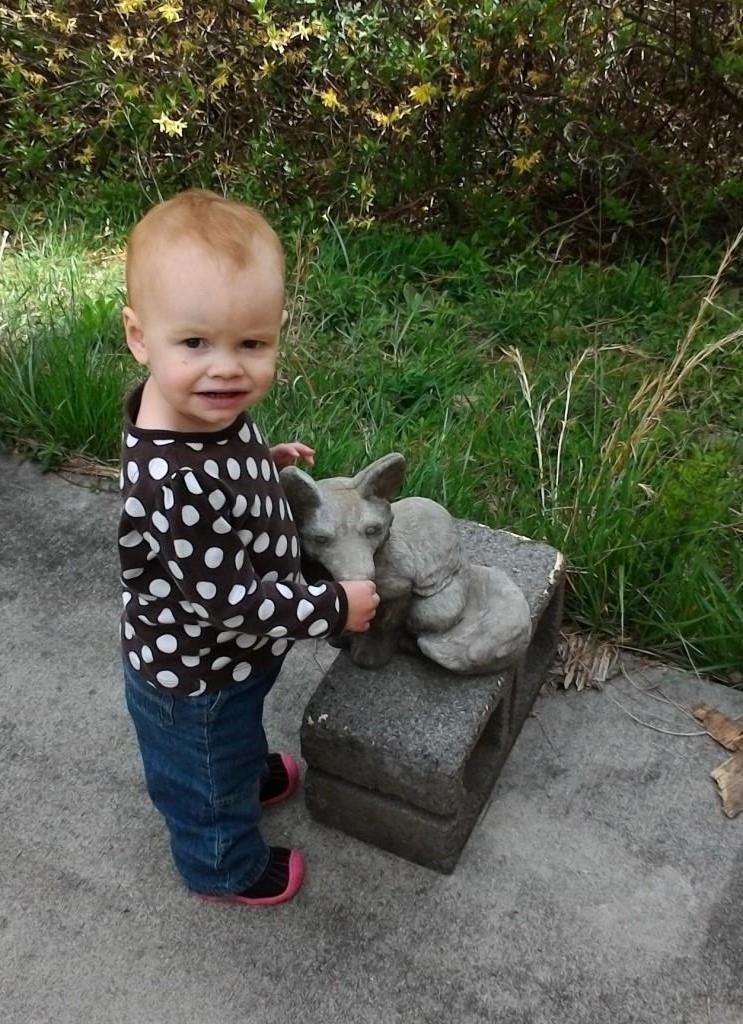
My littlest yetiling Maisie's favorite part of the visit was the "doggy."
Fox Hill had a nice selection of melomels (fruit mead), metheglins (herbal / spiced mead) and traditional (simply honey, water and yeast), as well as a Special Reserve Mead. An off-dry (between dry and semi-sweet), this mead is made with a unique blend of buckwheat honey and some lighter varietals. It comes in at a solid 16% ABV (alcohol by volume). It is also aged in oak for a "long period of time" (I'm not sure exactly how long). Due to the strong flavor imparted by the oak and buckwheat, Jason adds ginger, as he feels it can handle it. I believe it also has apricot in it, but I don't see that noted on the meadery's website. For more on Fox Hill, read this AleHorn interview. All in all, it was an enjoyable visit. We brought back with us a couple of bottles of the Special Reserve and peach melomel, which we enjoyed (responsibly of course) along with one of my own metheglins. Other North Carolina meaderies include Bee & Bramble, Starrlight Mead and Black Mountain Ciderworks (which has both mead and cider).

Meading it up with Fox Hill's Head Mazer Jason Russ.
Inspired by Fox Hill's Special Reserve, I picked up a local honey made from summer wildflowers. It was dark and rich but not nearly as much so as buckwheat. For my MENF presentation, I started a one-gallon batch of mead with dried apricot and ginger. Thus far, it has performed admirably in taste tests, even after passing the "sweet spot" most meads reach (meaning they taste lovely while "young" and sweet but reach a point where most of the sweetness has fermented away and they need time to age out harsh flavors). If you want to give it a try yourself, here's how I recommend you go about it:
Ginger-Apricot Mead Recipe
- Prepare a yeast starter through wild fermentation. If you don't have my book, my method is outlined here and here (scroll down to "weed mead").
- For a semi-sweet mead, blend approximately one quart (2.3 pounds) of honey and one gallon of slightly warmed spring water.
- Add three to four dried apricots or as many fresh, whole apricots as you'd like.
- Thinly slice a chunk of fresh ginger and drop in 3-4 slices (about 1 in. in length each).
- Add 5-6 organic raisins.
- Ferment in an open-mouthed container covered with a dish towel or cheesecloth for 1-2 weeks, stirring 2-3 times daily.
- Rack (transfer) to a narrow-necked jug with an airlock or balloon over the opening.
- Rack off lees (yeasty sediment on the bottom) after about a month and 1-2 times every couple of months thereafter. It should be ready for bottling or even drinking within 4-6 months. I highly recommend bottling and aging at least a few bottles.
- At any point in the process, if you taste and the apricot or ginger doesn't stand out enough for you, add more and continue to taste test until it has reached a level you like. Keep in mind that some flavor subtleties won't come out until the mead has aged in a bottle for six months or more.
- Don't forget to toast to your friends with a hearty "skal!"
As usual, I enjoyed meeting all of the sustainable living and modern homesteading enthusiasts, as well as converting some new wild mead makers at MENF. The passion at these events always amazes me. It really does feel like a family; a family that is working to change the world for the better. Up next, my Pacific Northwest tour of all things Vikings and mead!
The Great Pacific Northwest, where the mention of mead and Vikings rarely gets a "huh?"
I said this many times during my travels, but this area really is my second home. From the moment I glimpsed Mt. Rainier rising from the clouds as our plane descended into the Seattle-Tacoma (SEATAC) airport I felt at home. For a while, this was my home. Although I'm a Kentucky native and currently live in my home state, I spent what seemed at the time like a good portion of my life (7-8 years) living in various parts of Seattle and in Bellingham (near the Canadian border) and traveled a great deal throughout Washington, Oregon, western Canada, and the Southwest US.
This time I was on a mission: to spread the good word of Vikings and wild-crafted mead! My wife and I chose to arrive before Memorial Day weekend to catch a bit of personal travel and do some camping and beach combing before the tour-proper started. We also chose to leave our five-year old and one-year old at home on my mom's farm (hallelujah!) so that we could, well, recover some of our sanity. I will certainly be bringing them with me the next time but this particular trip would have been trying on all of us. Not to mention that Jenna and I have barely gone a night without kids for quite some time now.
After visiting some of my old haunts in Seattle and trying out some of the new breweries that had popped up since I lived there last, I had my first workshop before our official vacation started, on Friday evening of Memorial Day weekend... Despite the insane traffic we had to navigate to get to the venue on time, I and the workshop attendees had a good old time. Ironically, three attendees were Kentucky natives. I learned that there is a strong interest in all things Viking and Norse in Tacoma. There's even a Scandinavian Cultural Center. A hearty thank you to the staff at Crescent Moon Gifts for hosting the event. If you're in the area, check out their Spring Fairy Festival and Fall Fantasy Faire.

I even managed to find some Viking-themed brew to fill my horn with while camping.
Following a weekend spent attending the Northwest Folklife festival and camping at beautiful Deception Pass State Park, it was time to head to the Fremont area of Seattle for a reading and micro workshop at The Book Larder. I love the concept of a community cookbook store and hope more communities give this concept a try. The turnout and reception were solid and the staff even picked up some mead for a tasting. They chose Chaucer's which is one of the earliest meads I tried and still one of my favorite dessert meads.

Next up was Village Books in Bellingham, one of my favorite bookstores to visit when I lived there. Some of my old writer friends from the area...and I mean old (or at least they claim to be, given that they refer to their little group as the Grumpy Old Writers) arranged a potluck before the reading and came along to cheer me on. The turnout was a little smaller here but Bellingham is the "city of subdued excitement" after all. Perhaps their excitement was a little more subdued than usual. Regardless I got to pay a visit to my favorite English-style pub, Archer Ale House, during my visit, so it was well worth it.
After Bellingham we figured "why not head to Canada?" Given that the border is just over 20 miles from Bellingham I figured I may as well pay a visit to one of my favorite cities in the world (and I've been to a few), Vancouver BC. The crossing was fairly painless, although it is certainly much less lax than when I used to visit during pre 9/11 days. We were going to camp that evening but a downpour convinced us to stay at a hotel in Langley BC and catch up on some laundry.
Next morning, we drove into beautiful Vancouver and went straight to the Granville Island Public Market, still one of my favorite markets in the world, with a stellar selection of fresh, local and unique food offerings. Of course, the very first stop at the market was Granville Island Brewing, where I tried a lovely flight (sampling) of freshly made craft beers.
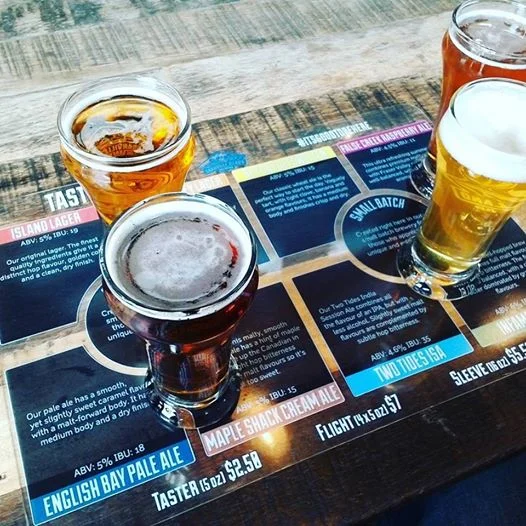
I believe I sampled the Maple Shack Cream Ale, the English Pale Ale, the False Creek Raspberry Ale and... the Surprise Ale I suppose!
After picking up a quart of local, raw thistle honey we headed into town for my reading that evening, at Barbara-Jo's Books To Cooks, another cookbook book store. Although Barbara-Jo and staff were hoping I could bring along some of my own mead for a tasting, the facts that I had flown out for my trip, crossed the border, and still only brew on a very small personal scale, made that rather difficult. Still, I picked up some local meads, as did Barbara-Jo's, so we got to enjoy a mead sampling along with a reading and mini-workshop! The group that attended seemed to enjoy themselves quite a bit, particularly since I emphasized that we toast with a skal! after each sample.
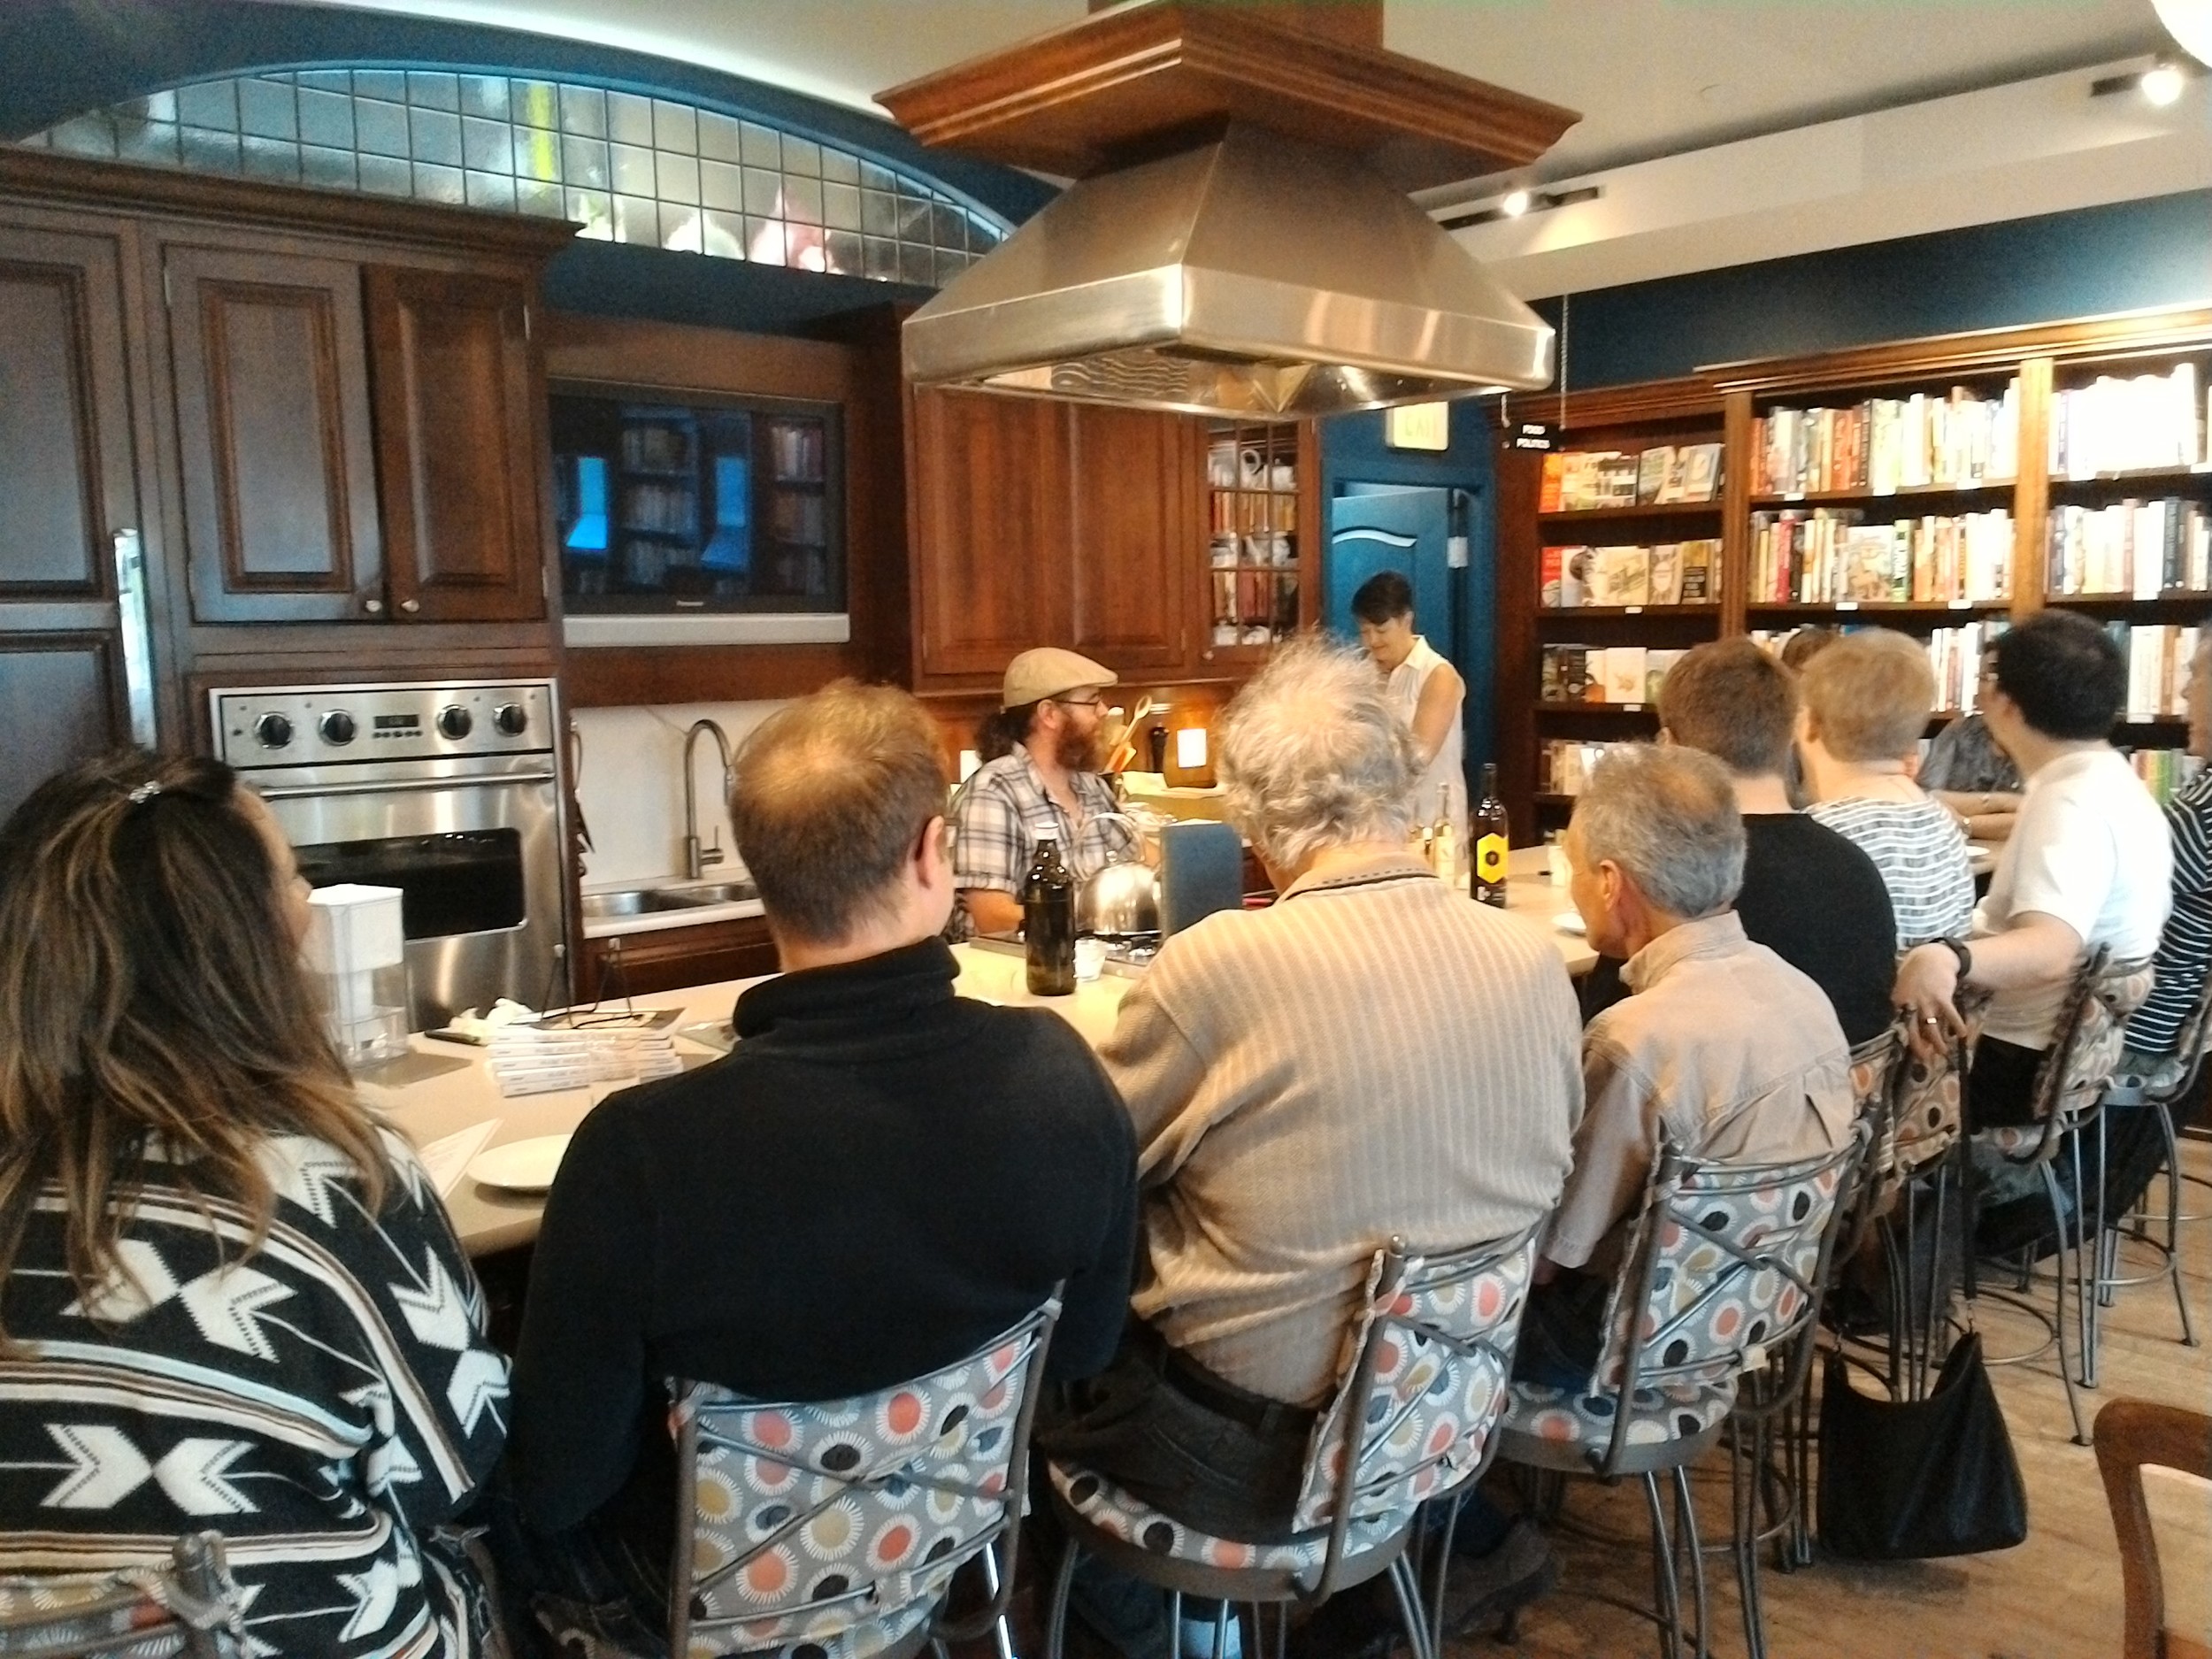
A book store with a kitchen in it. How awesome is that?
The next day was going to be a tough one, as our next stop was in Portland, Oregon. We elected to drive that night back to Seattle to make the next day's drive less painful. As we had the rest of our time in Seattle, we crashed on our dear old friend (and fellow Berea College graduate) Moriah Cayenne Dailer's couch in her cozy Fremont apartment. Here's a hearty skal! to her for making us feel at home while away from home.
For the last leg of our trip, we headed to Oregon for a workshop at the Portland Homebrew Exchange (HBX). Before the workshop, I had to brave the rush hour traffic to make time for visiting a place I had only just heard about, The Mead Market.
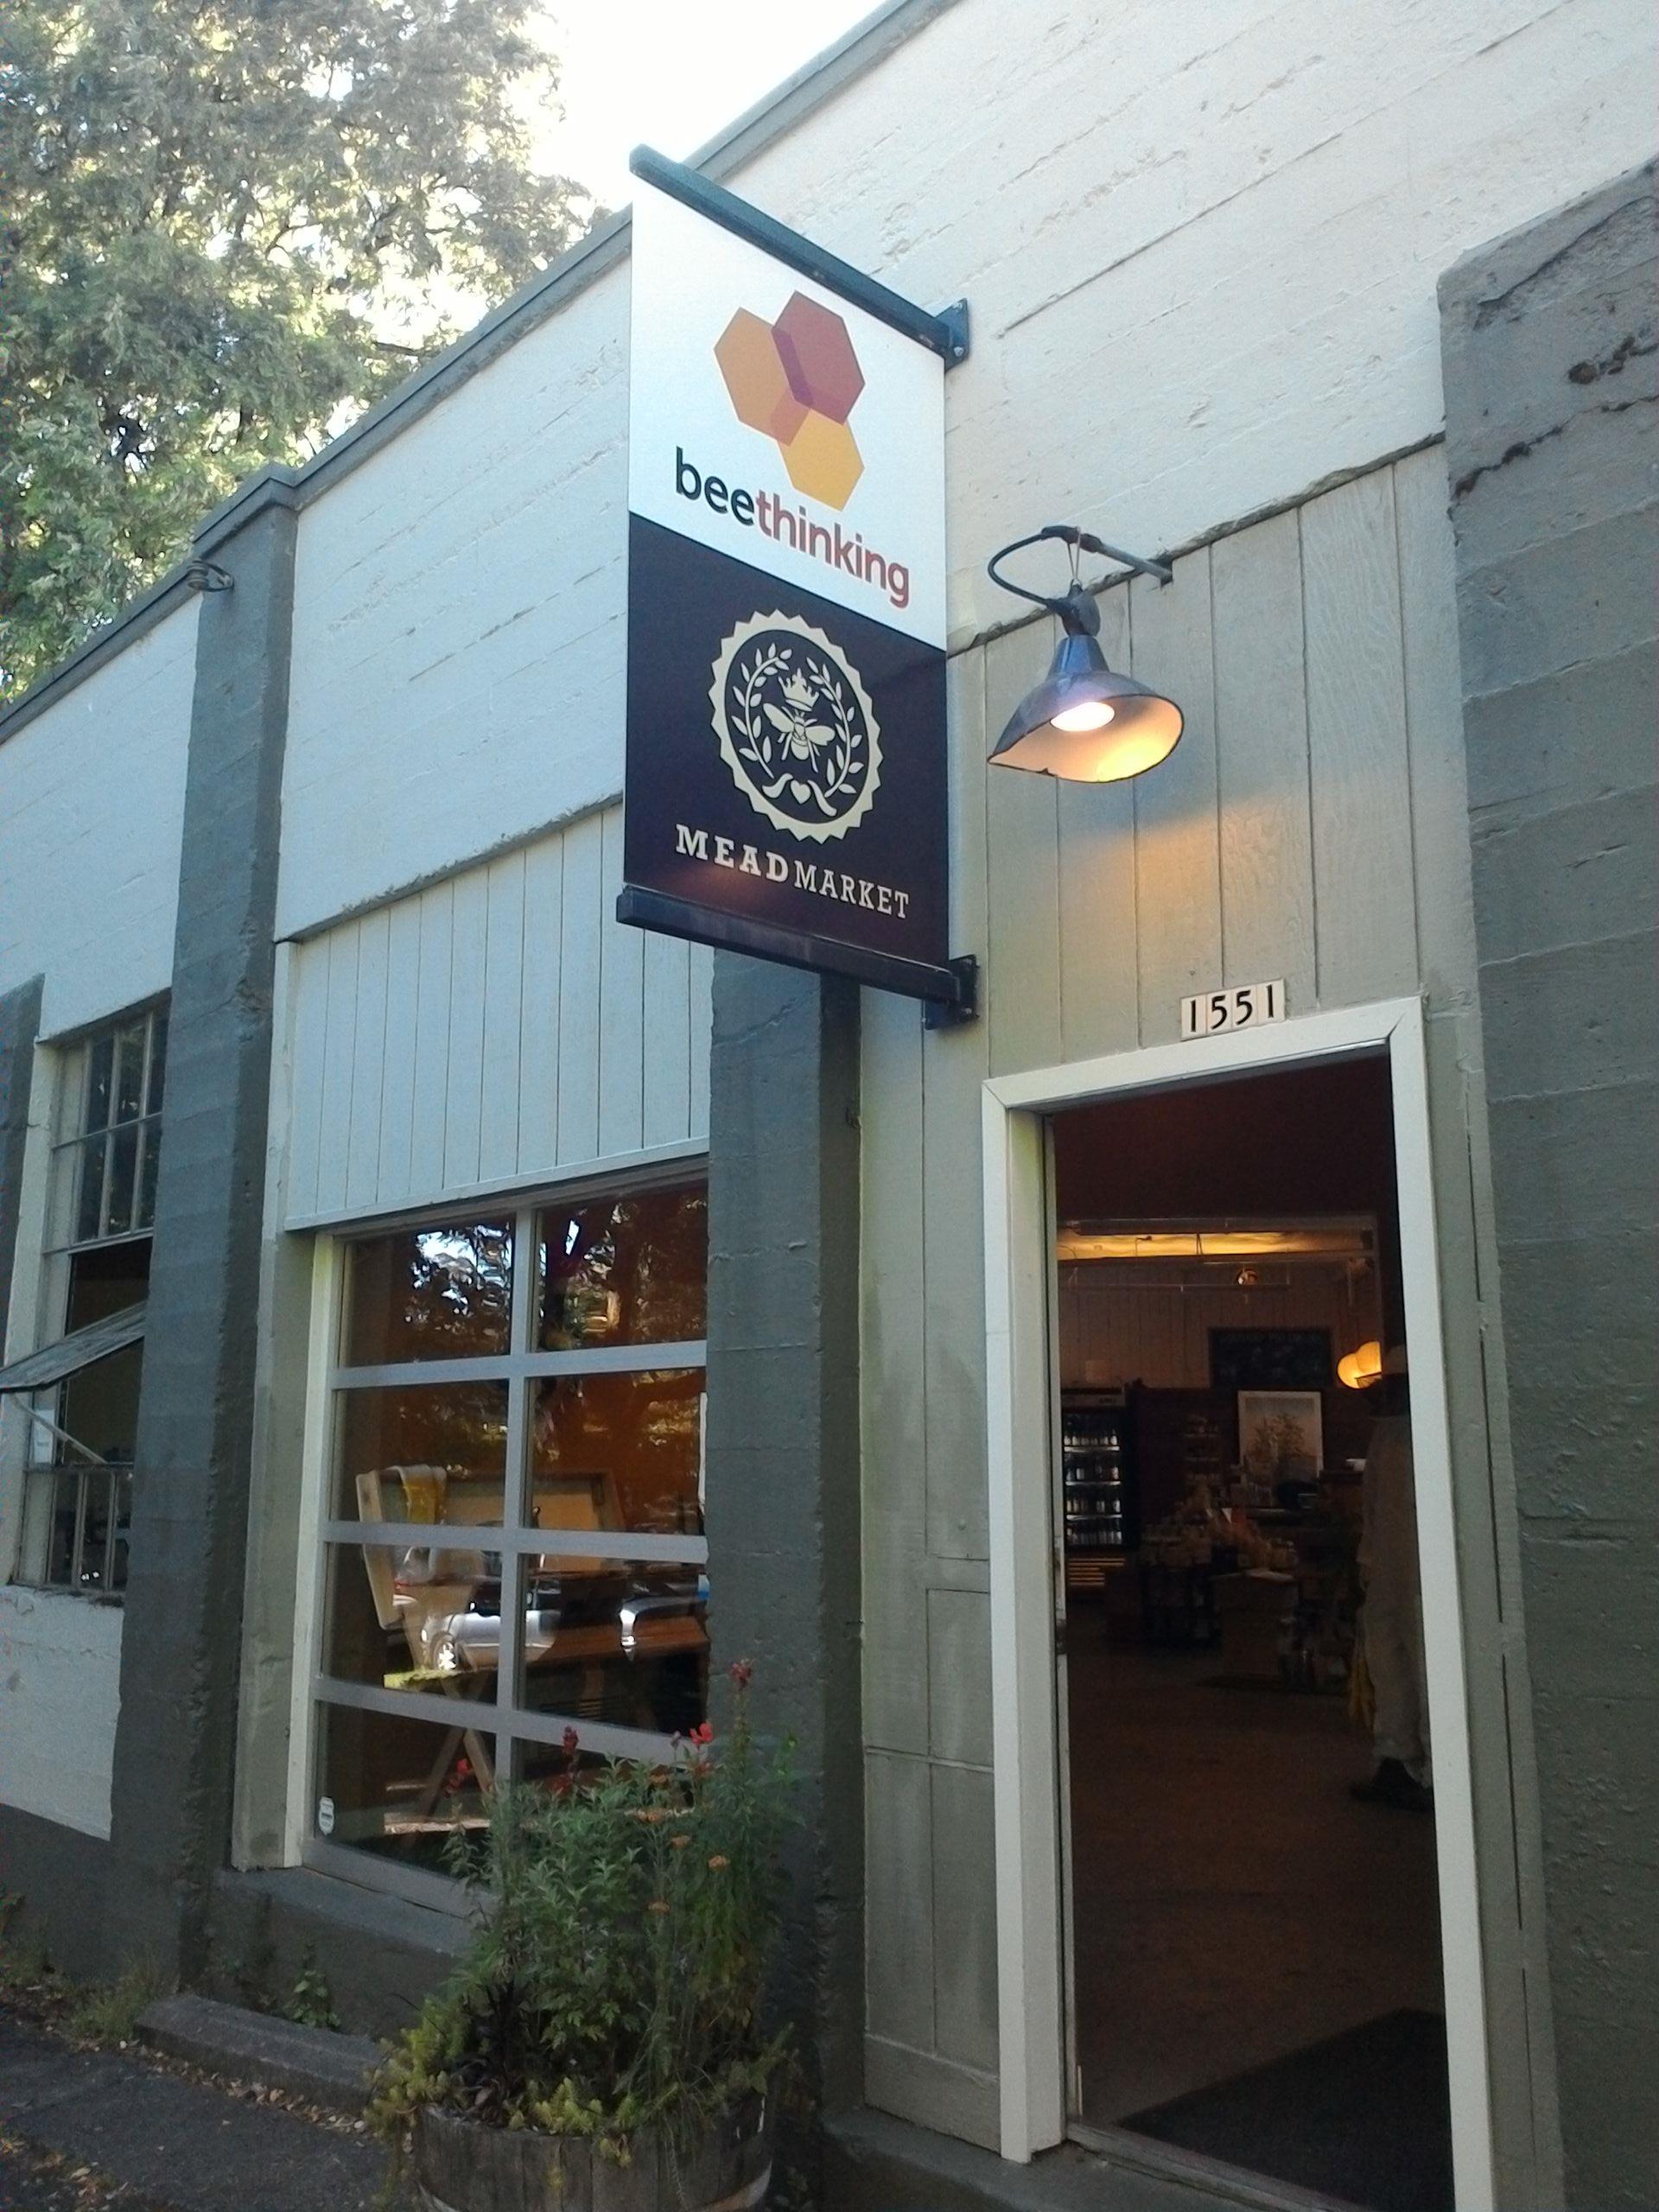
What an incredible idea. Why doesn't every town have a mead market? Originally (and still) a beekeeping-supply store, they had so many customers asking about mead that they decided to open a retail store with a workshop space and regular tastings from local meaderies. They had literally just moved into the retail space when I visited and were finalizing their workshop space. The staff members and I felt a meadly gravitation toward one another immediately. I will almost certainly bee (ha-ha) back to host a workshop and book signing in the near future.
After the workshop (finally, a workshop in a homebrew store where I had plenty of items on hand to demonstrate!), we headed to Albany, Oregon for the Big Event, the reason we were out there in the first place, the Oregon Mother Earth News Fair. For this event, I did both my Make Mead Like a Viking workshop and my Ferment the Harvest workshop. In addition to mead, I ferment vegetables and lots of other stuff, and teach about other types of fermentation when I have the opportunity. Both were well attended by the typical passionate MENF crowd full of passion (and questions).
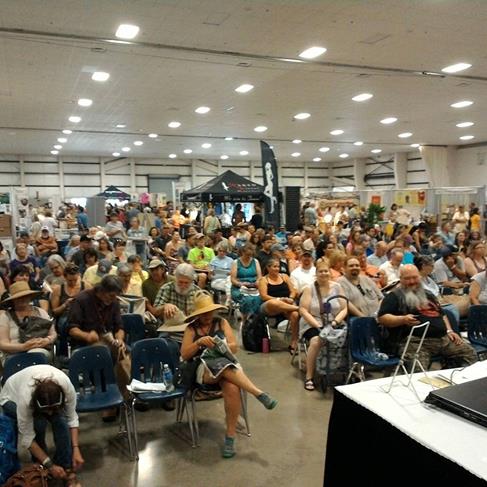
The crowd that gathered for my Make Mead Like a Viking presentation. Aren't they lovely?
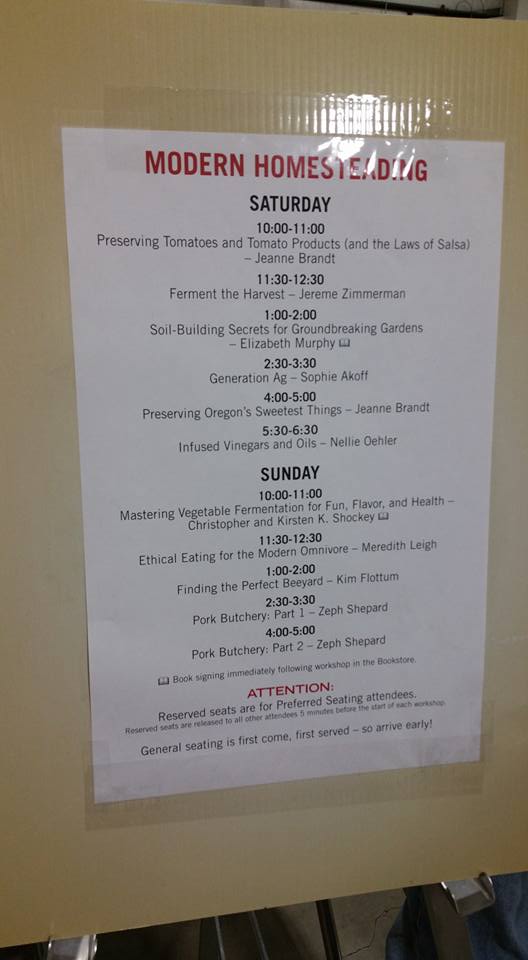
Check out all the other great workshops. And this is just for one stage!
Conveniently, I was set up right next to Bee Thinking, the beekeeping-supply store that also runs the Mead Market. I didn't realize this until the next day when I saw they were sharing a photo of my presentation on social media. I made sure to stop by and chat with them and take the opportunity for a photo-op. If you're wondering about the walking stick...well, I had some old foot injuries come back to haunt me during the trip and spent most of it hobbling around. I'm still recovering but I'm a Viking. I'm not going to let some old battle injury slow me down!
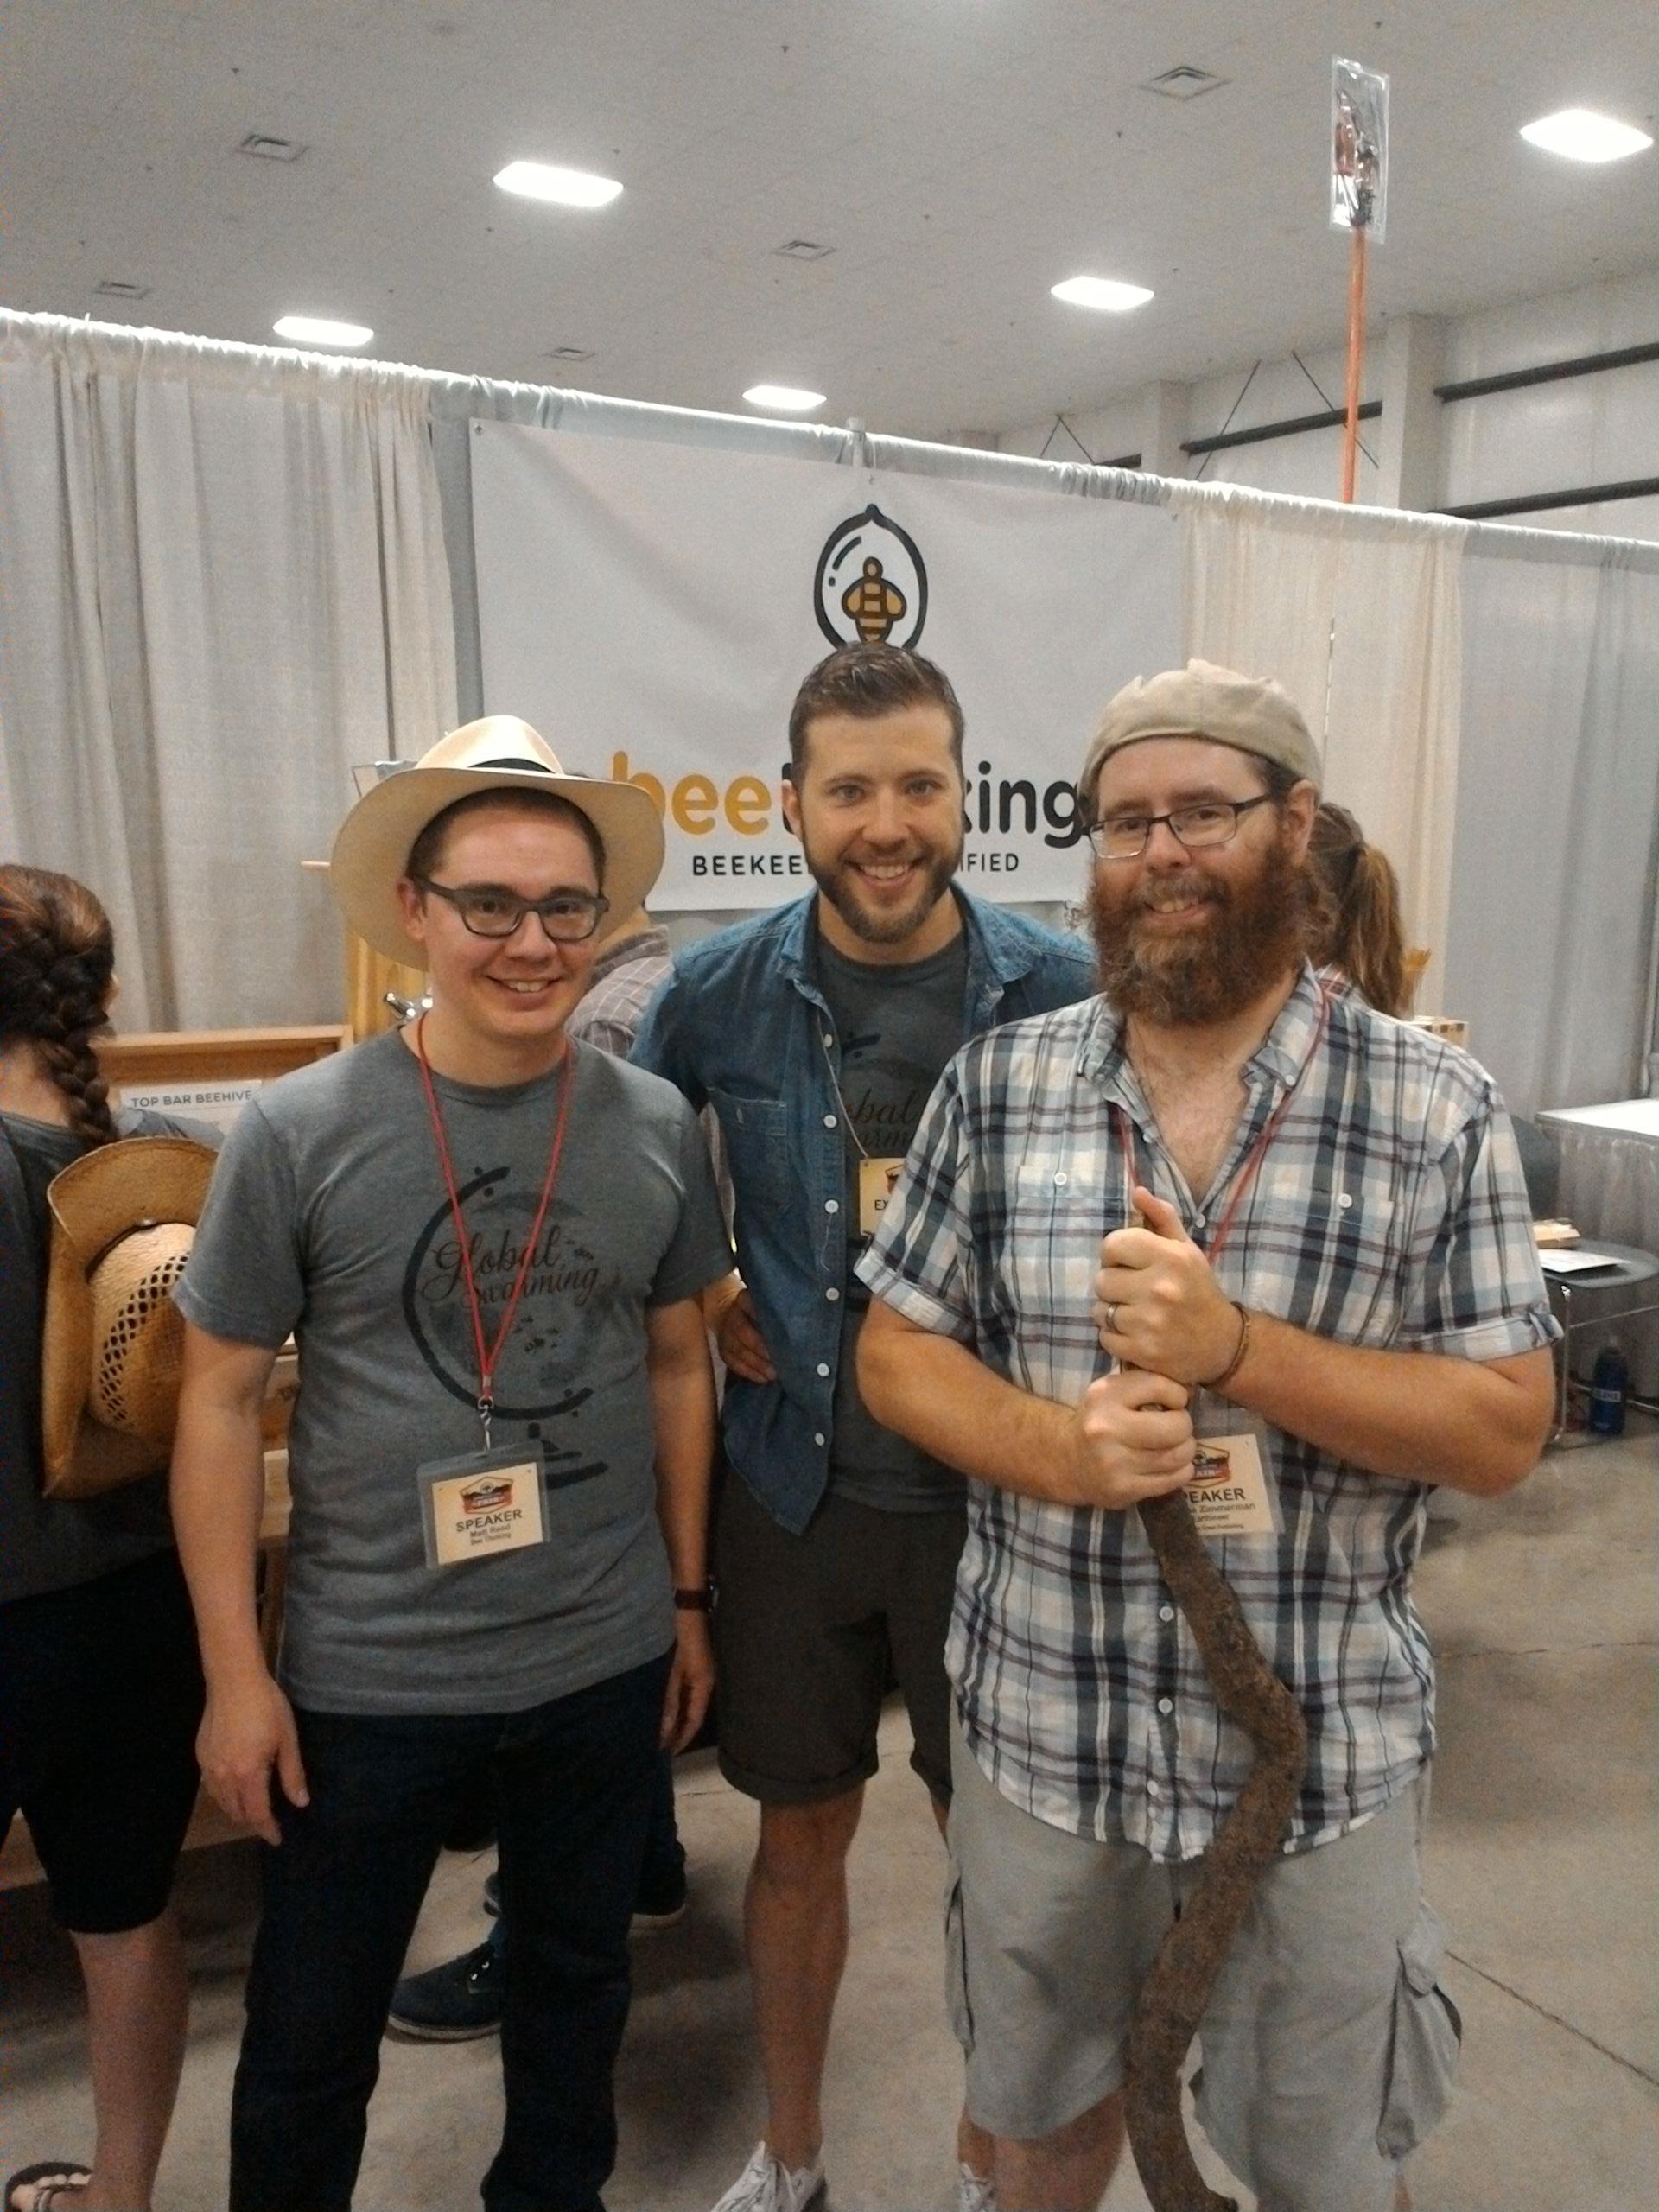
Mutual mead love...
Seeing as I did both of my workshops on Saturday, I decided to make the rounds, visit friends (authors, editors, publishing folks, etc.) from previous fairs--including the Chelsea Green Publishing and New Society Publishing booths and the Backwoods Home / Self Reliance magazine booth--and then play hooky.
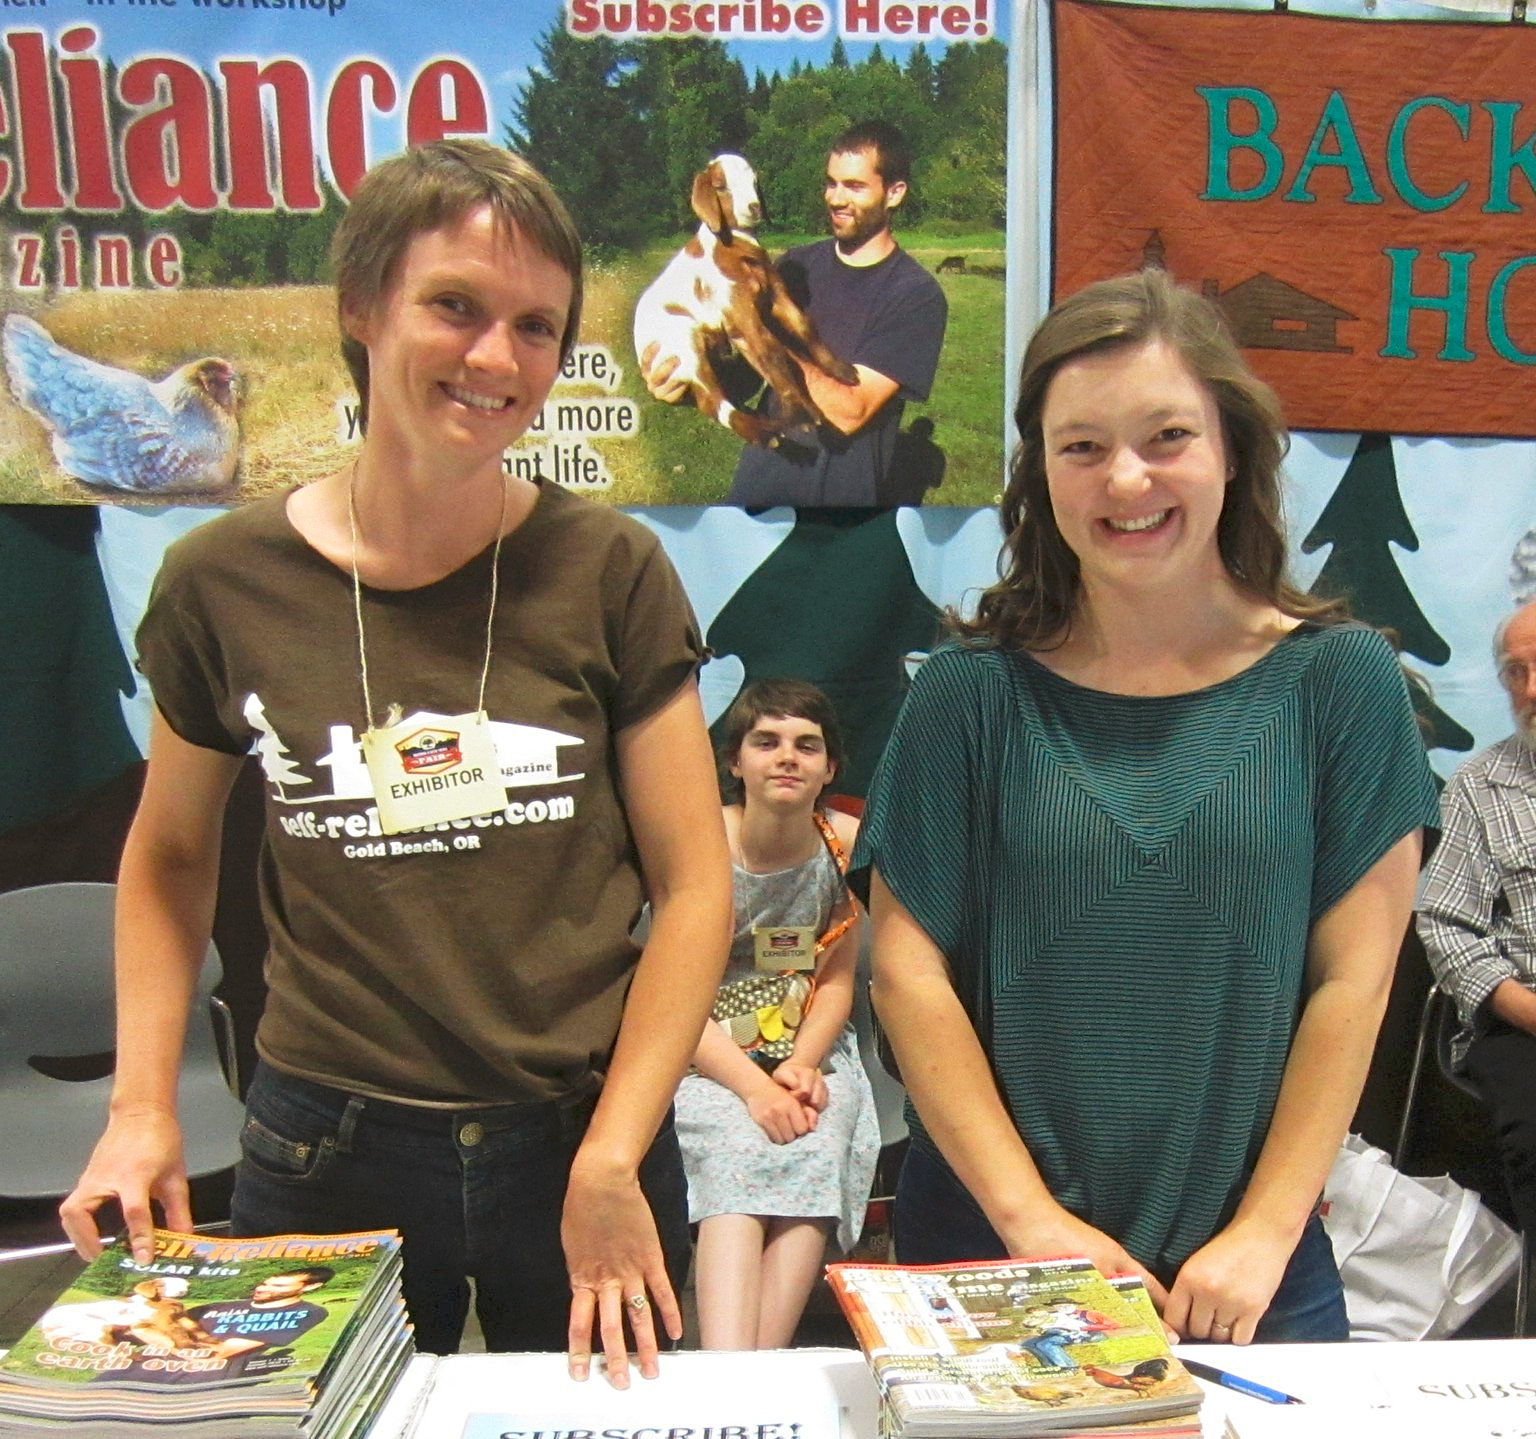
Jessie Denning (right), Managing Editor of Backwoods Home magazine and Annie Tuttle (left), Managing Editor of Self Reliance magazine, at the Backwoods Home / Self Reliance booth. I had meant to get a photo taken with them but forgot. I could have Photoshopped myself in later but, well, that would be creepy. Photo by Dave Duffy.
Seeing as it was nearly 100 degrees on our side of the Cascades, Jenna and I located a beach (Nye Beach in Newport) about an hour across the mountains and headed there for an afternoon walk on the cool, misty beach. Did I mention I couldn't seem to avoid running into Vikings on this trip? When I felt an urge for coffee, a coffee shop magically appeared before me called Carl's Coffee. I was intrigued by the Mjolnir (Thor's Hammer) in their logo and stopped in for a macchiato (the real kind, not the Starbucks kind). In querying the staff I discovered that Carl had Viking ancestry and I would "know it if I saw him." Sadly I didn't get a chance to meet Carl but I did pick up a t-shirt.
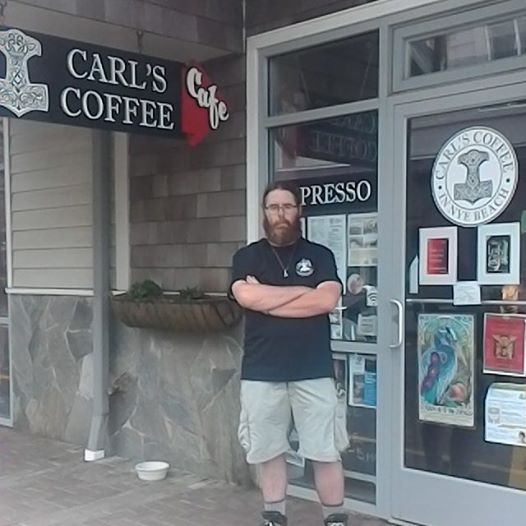
This is my "I'm a tough Viking...in short pants" look.
You would think this would be the end of my trip, wouldn't you? While we were scheduled to fly out early Tuesday morning (we're currently at Sunday), I had one more event Monday evening. On our way back to Seattle, we stopped at Olympia for a reading at the lovely little indie bookshop Orca Books. This reading was also highlighted with a sampling of mead purchased by the staff. Although I was about worn out and hoarse in the voice at this point, I made it through and met some more folks passionate about Vikings and mead. It would be heresy of me not to mention the stop I made before the reading. The folks at the Mead Market had informed me of a little neighborhood hangout called the Skep and Skein. Yes, this is a bar and mini-meadery that serves its own mead, mead from other meaderies, and a nice selection of craft beer...and hosts groups of knitters, spinners and crocheters for weekly mead-ups. Knit, purl, drink, repeat! ...I have no idea if that is their logo but it should be. They were unfortunately out of their house mead but I enjoyed some Redstone mead from Colorado and a couple samples of craft beer.

Jenna and I caught up on some reading while sipping mead, beer and cider at the Skep and Skein.
Next up: drive to North Seattle (I was my typical cheaparse and rented a Prius hybrid far from the airport), drop the car off after hours, take a cab to nearest Link light rail stop, and hobble to the room I rented (again, not quite as close to the airport as it should have been). We pretty much had time for a shower and couple-hour nap before getting up to catch our flight. It was an exhausting day but well worth it!
Before I close out I'd like to share some photos from the Nordic Heritage Museum in the Ballard District of Seattle. I've visited there many times but this time made it a point to chat with their events director and gift shop manager. Their gift shop now carries Make Mead Like a Viking and Don't Fall in the Mead Hall. I will mostly likely be back to present a workshop there, likely in May or June 2017. Also, I have high hopes that I'll have a booth at their Viking Days event in August. I highly recommend this museum if you're interested in Scandinavian culture, arts and history from any era.

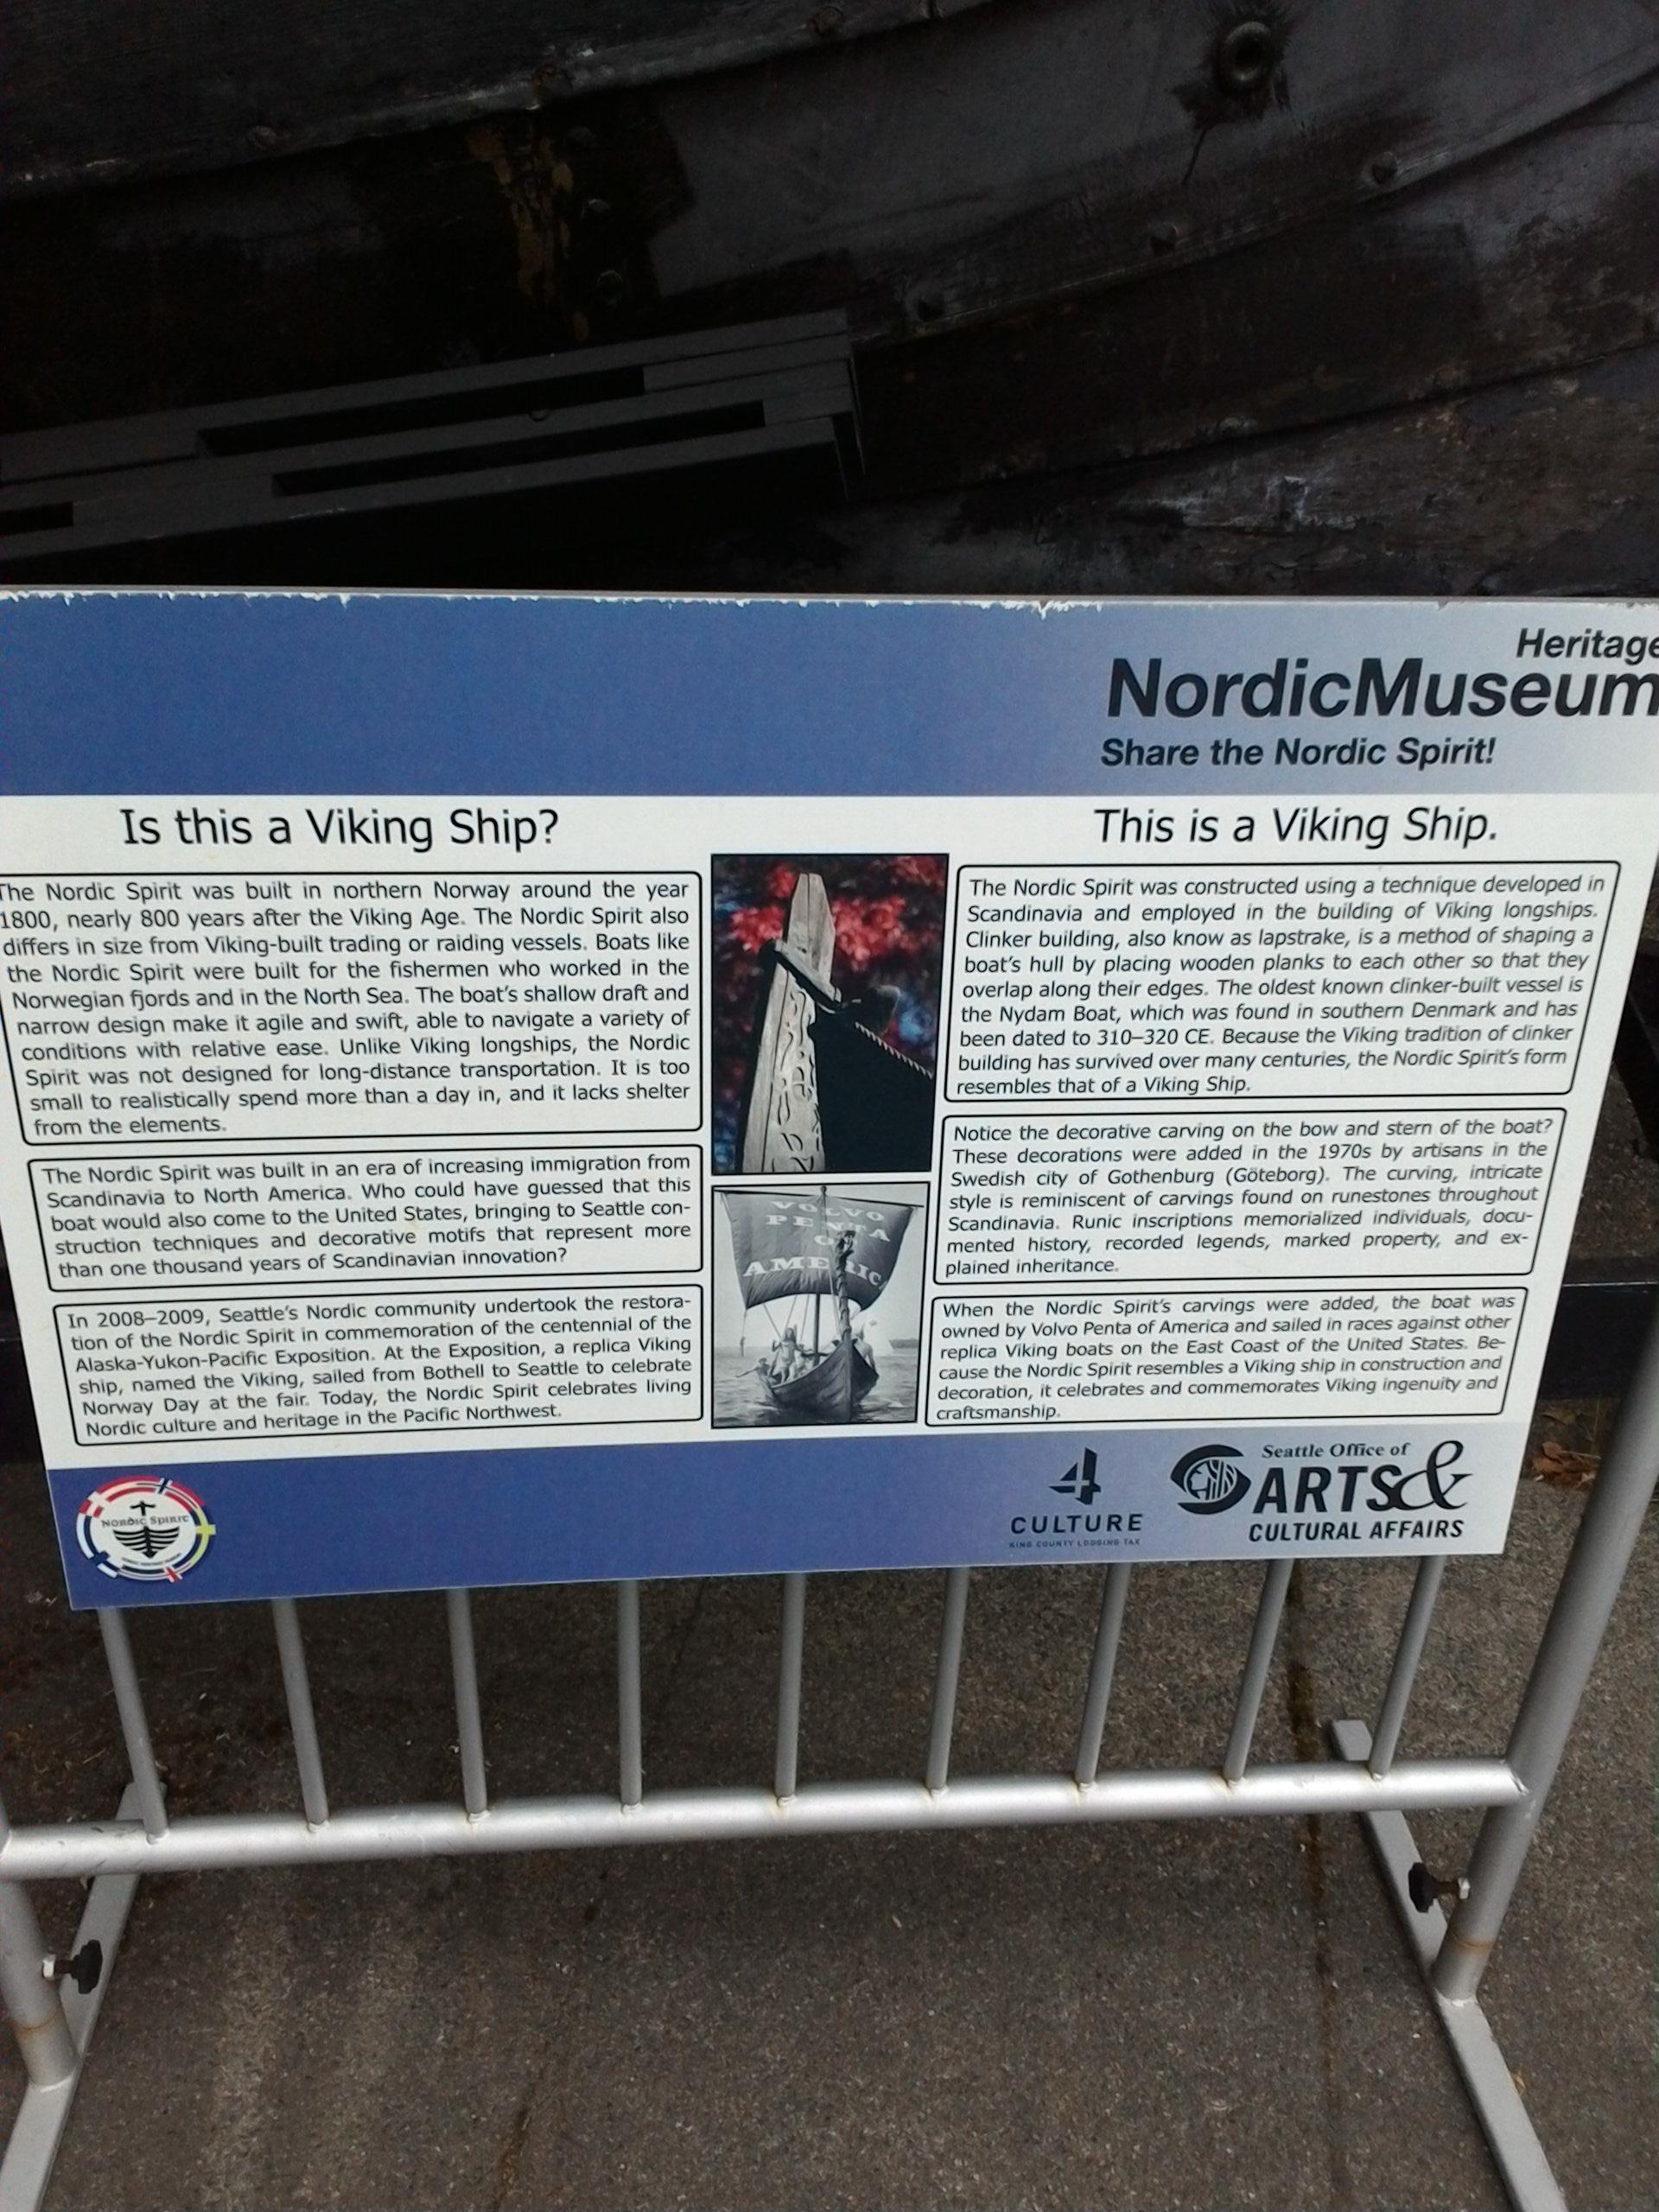


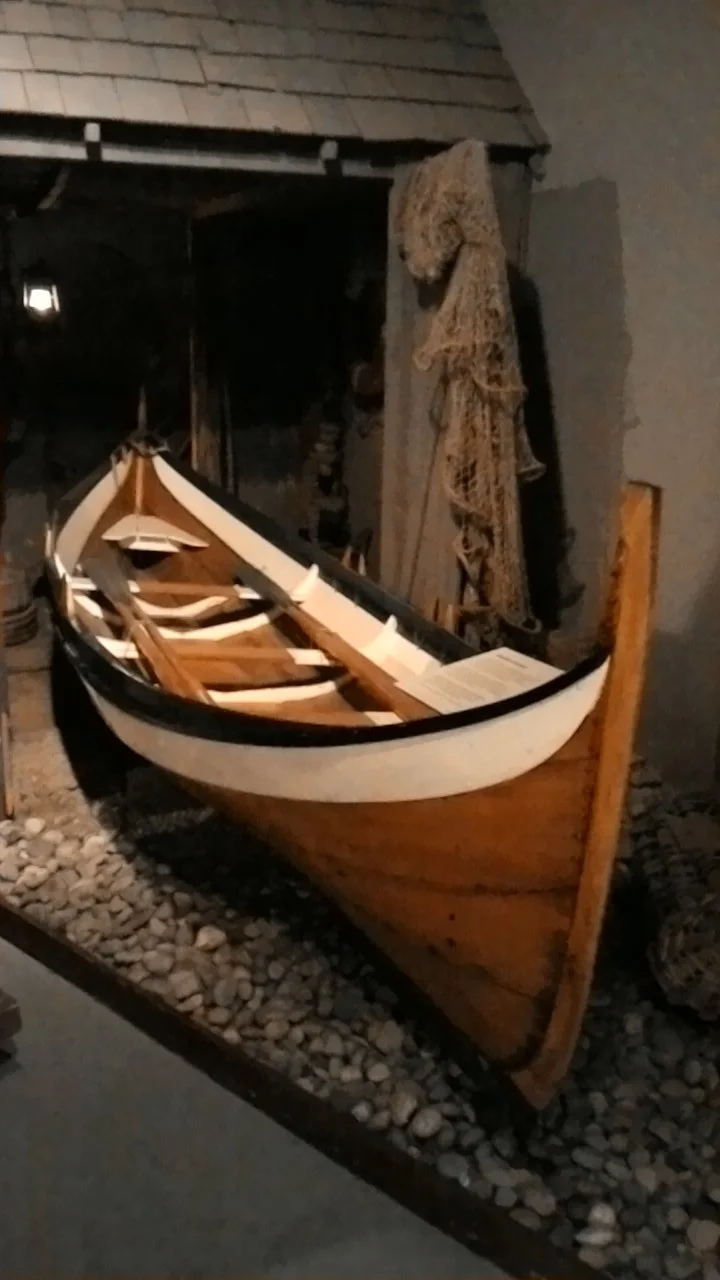
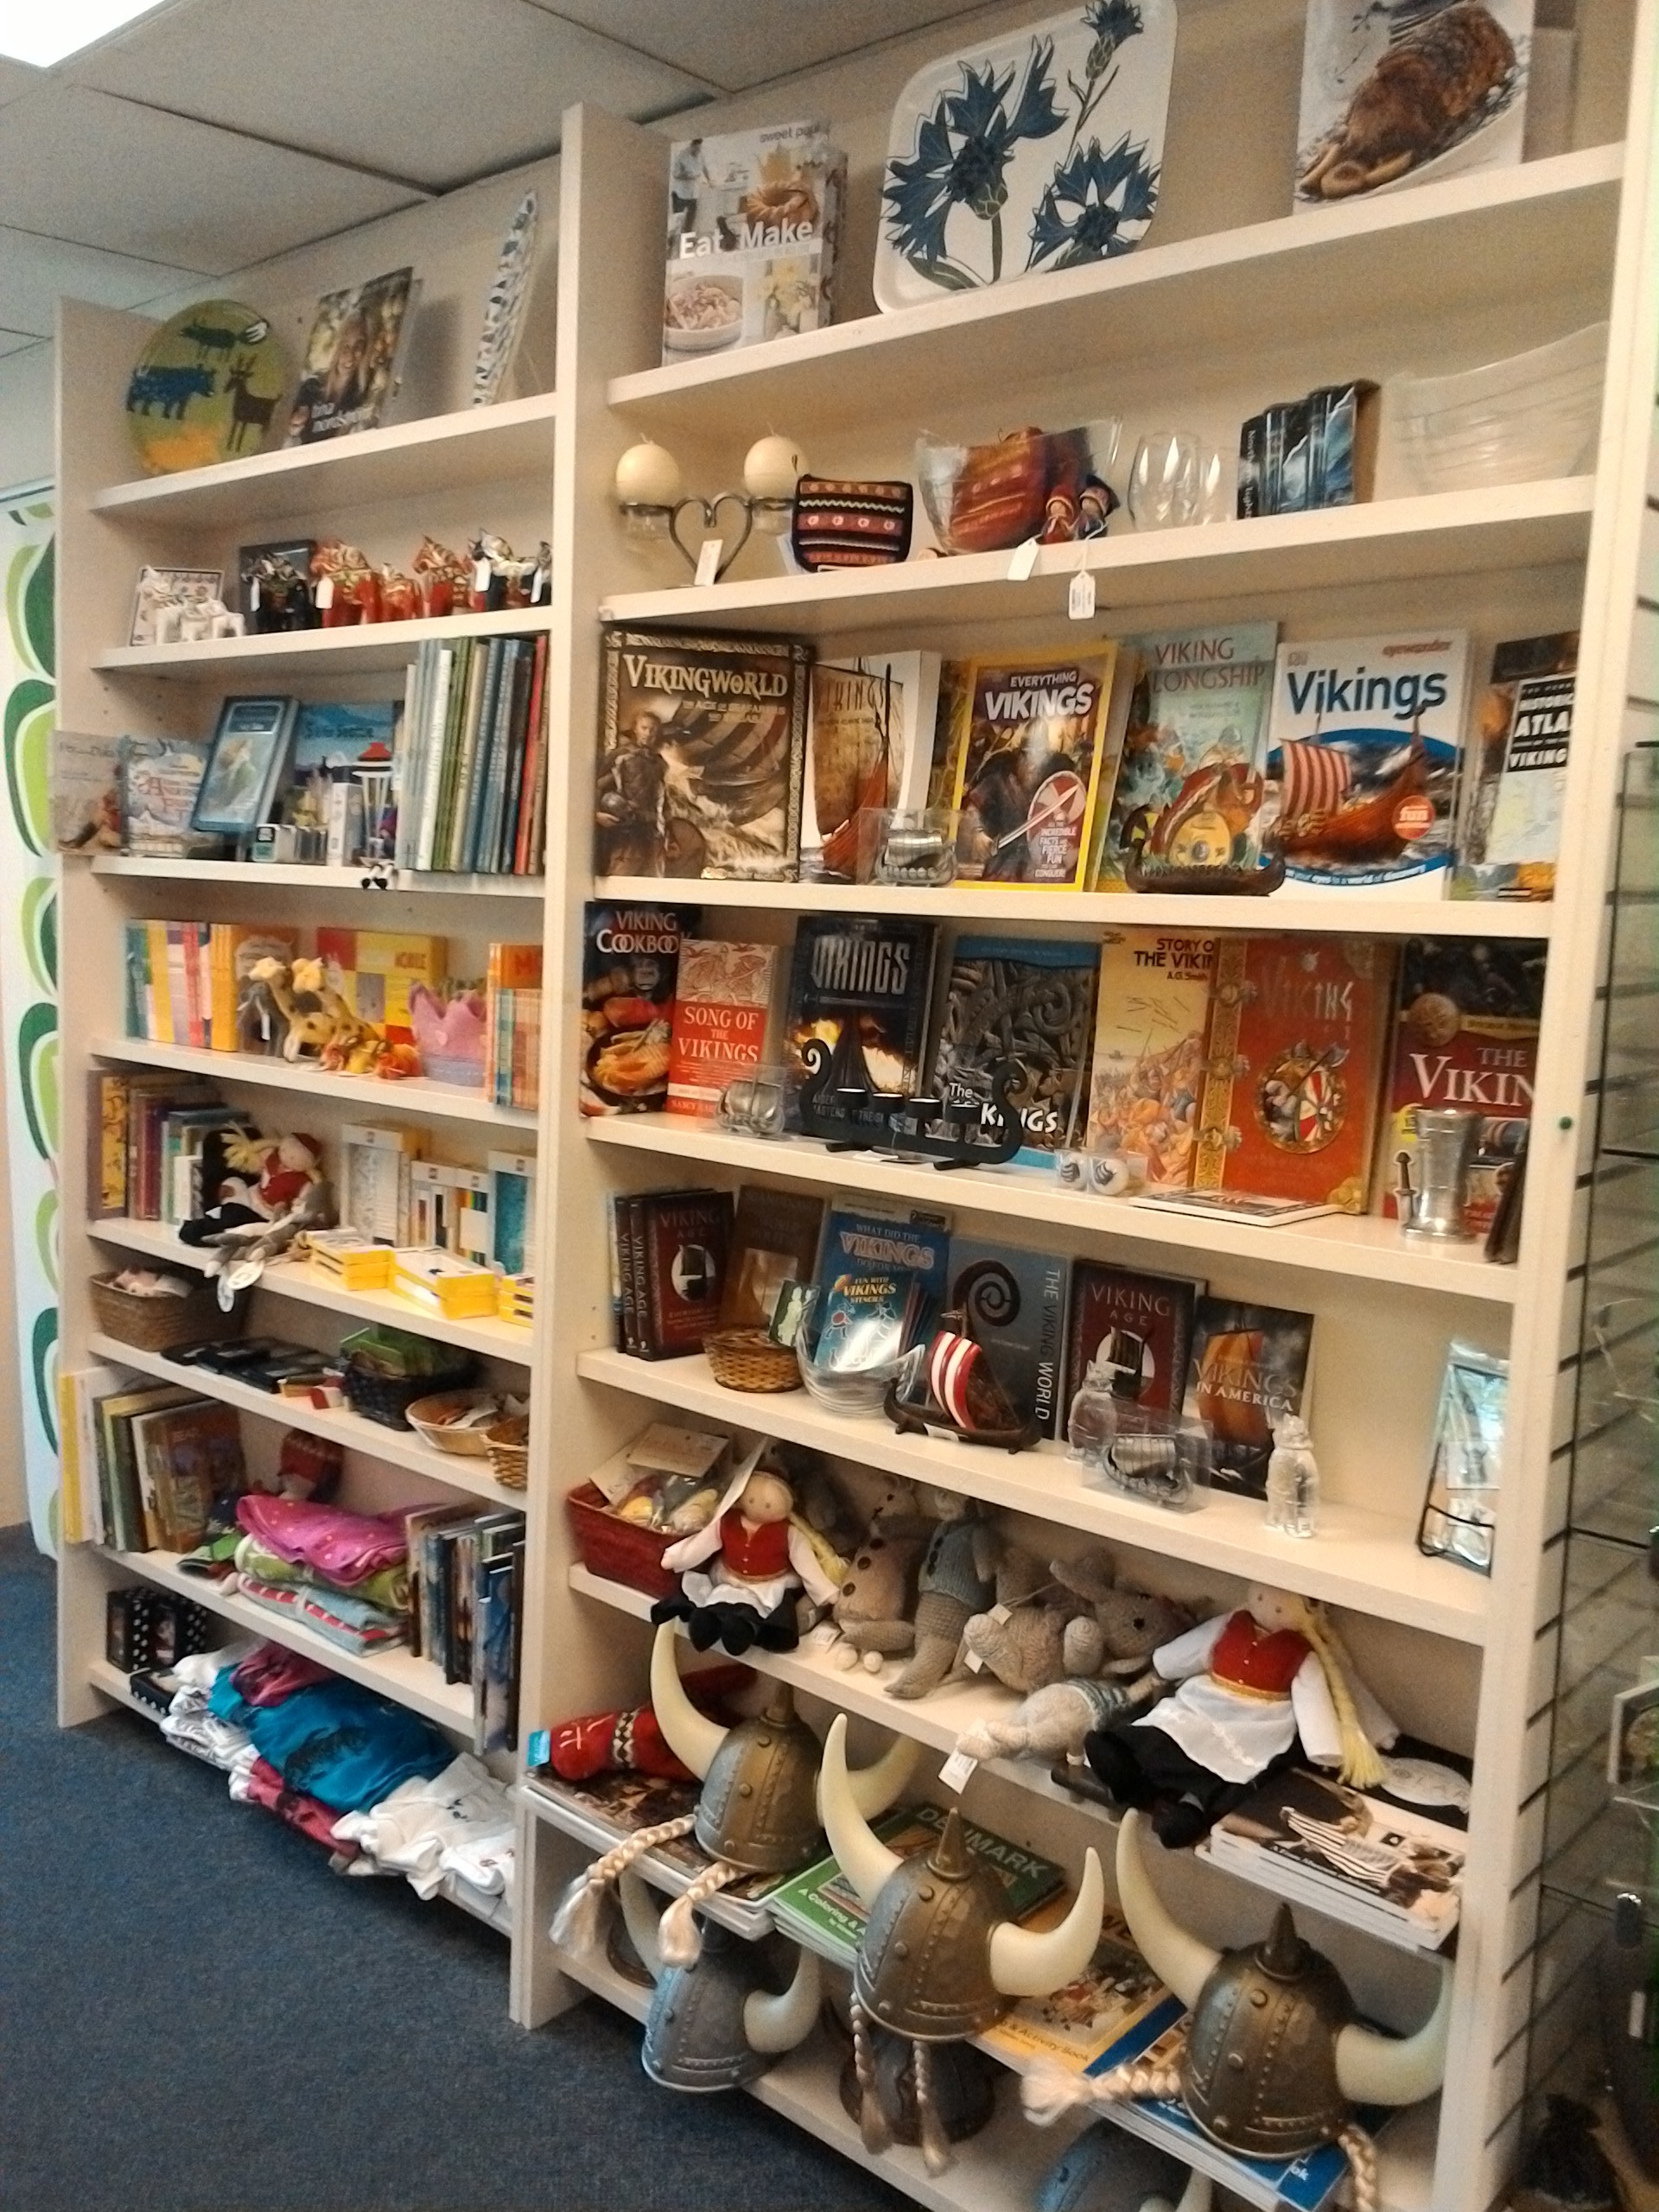
Just one section of the awesome Nordic Heritage Museum gift shop. They have plenty of books on Viking lore and history, Scandinavian food and drink, and other Nordic subjects, along with all kinds of other drool-worthy items.
Well folks, thanks for reading. I know this was long but I felt like we had a lot to catch up on. Stay tuned for future (and hopefully shorter and more regular) updates chock full of recipes, Viking lore and other fun. In the meantime, be sure to follow my Facebook and Twitter pages:
https://www.facebook.com/JeremeZimmYeti/
https://www.facebook.com/vikingnerds/
https://twitter.com/EarthineerYeti
And, check out my website's Portfolio page for semi-regular updates on articles I've had published that appear on the web. Also, my Media page has links to media appearances and podcast / radio interviews, including a recent discussion I had with Jack Spirko on his Survival Podcast.
As always, Skal!
